
The Timeless Pattern that Never Goes Out of Style: Gingham
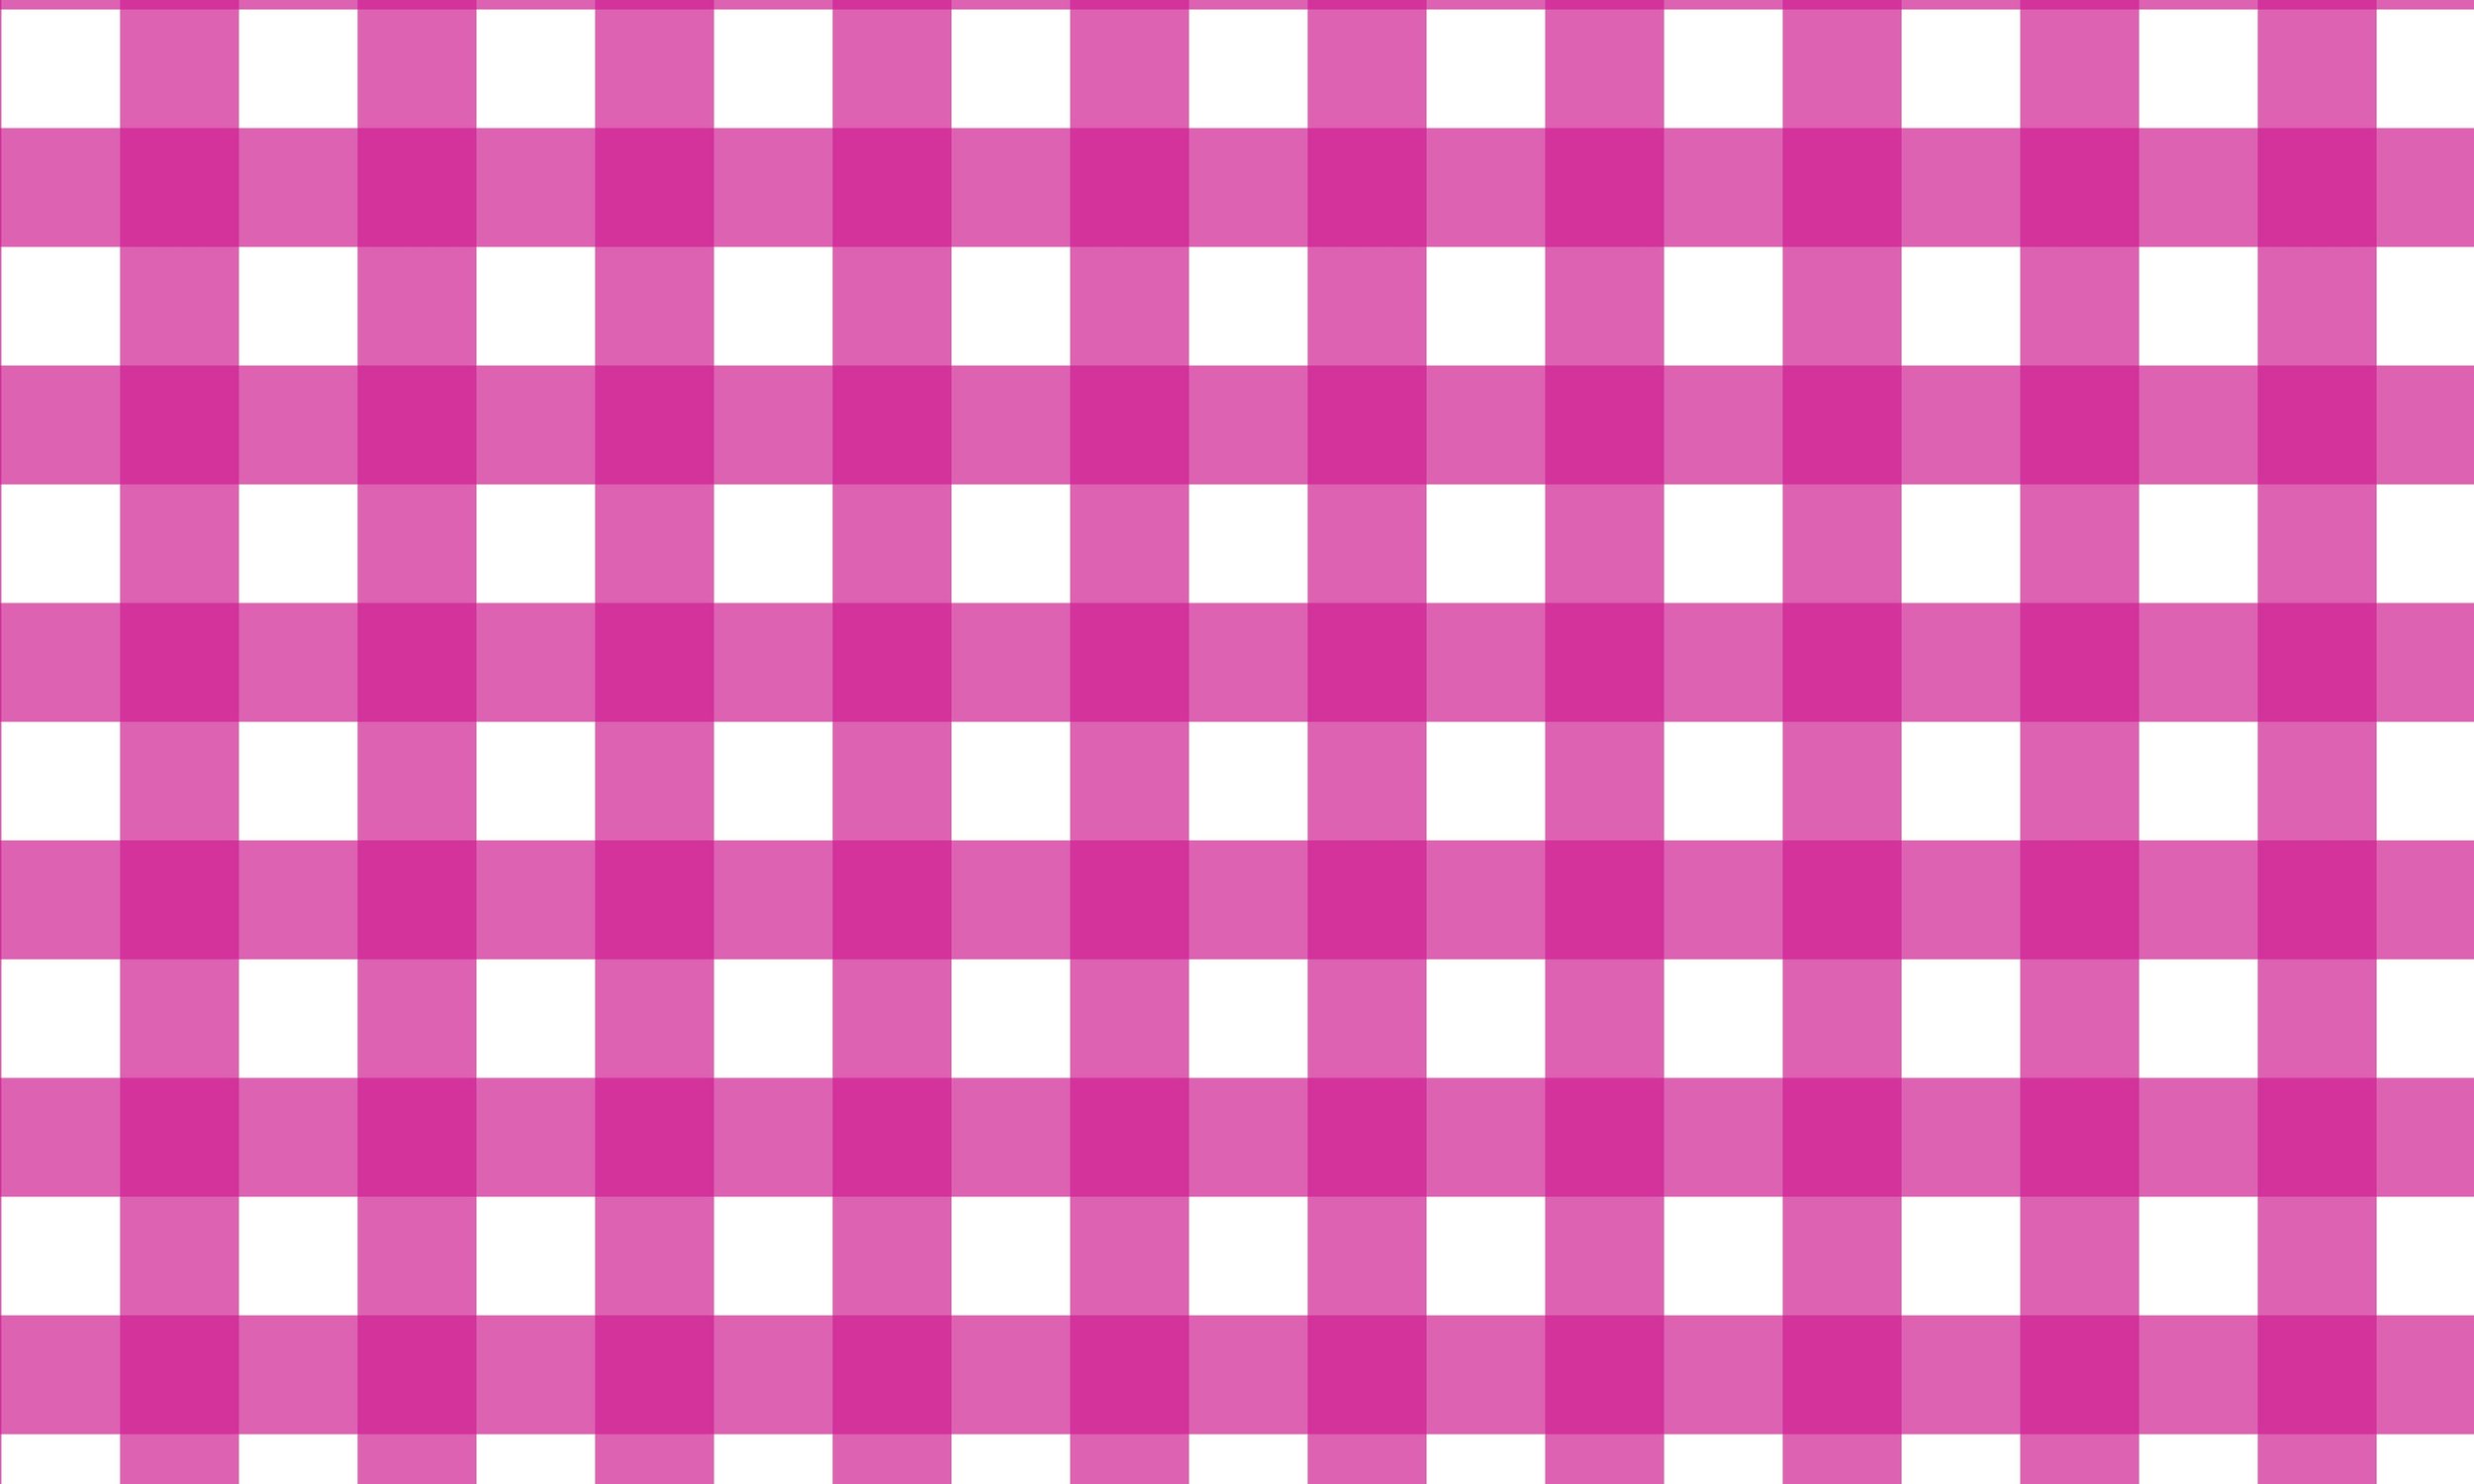
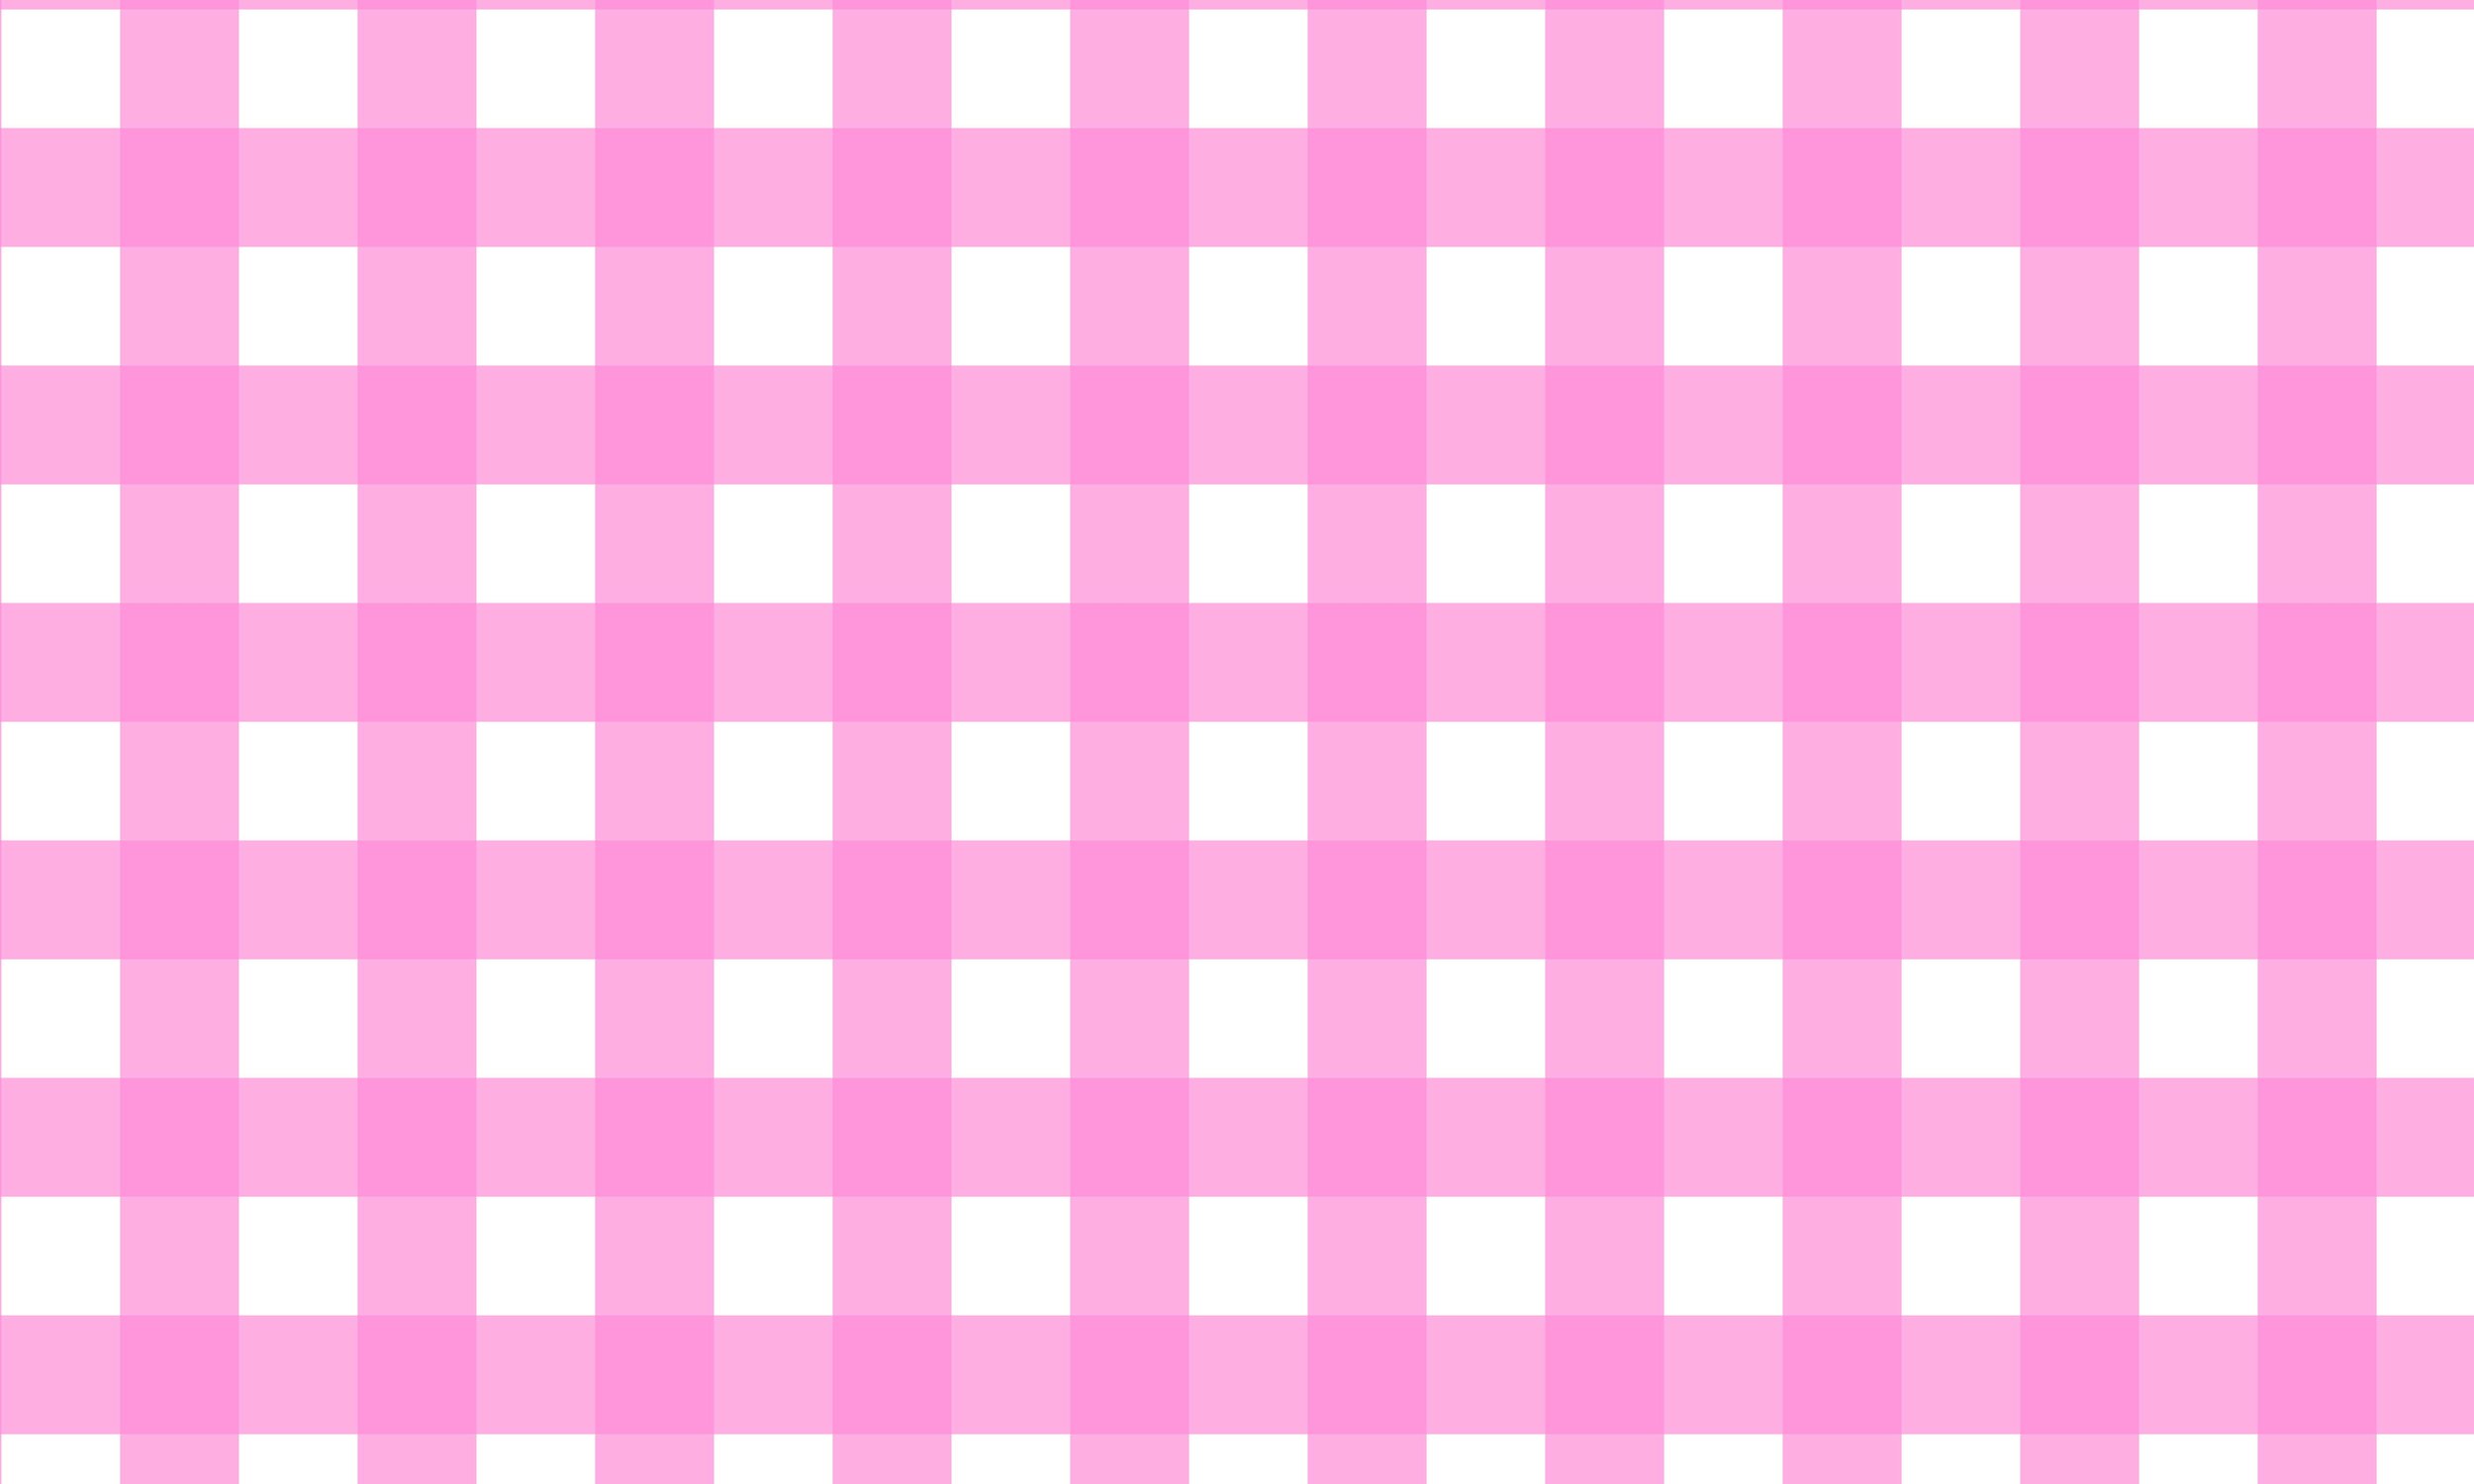
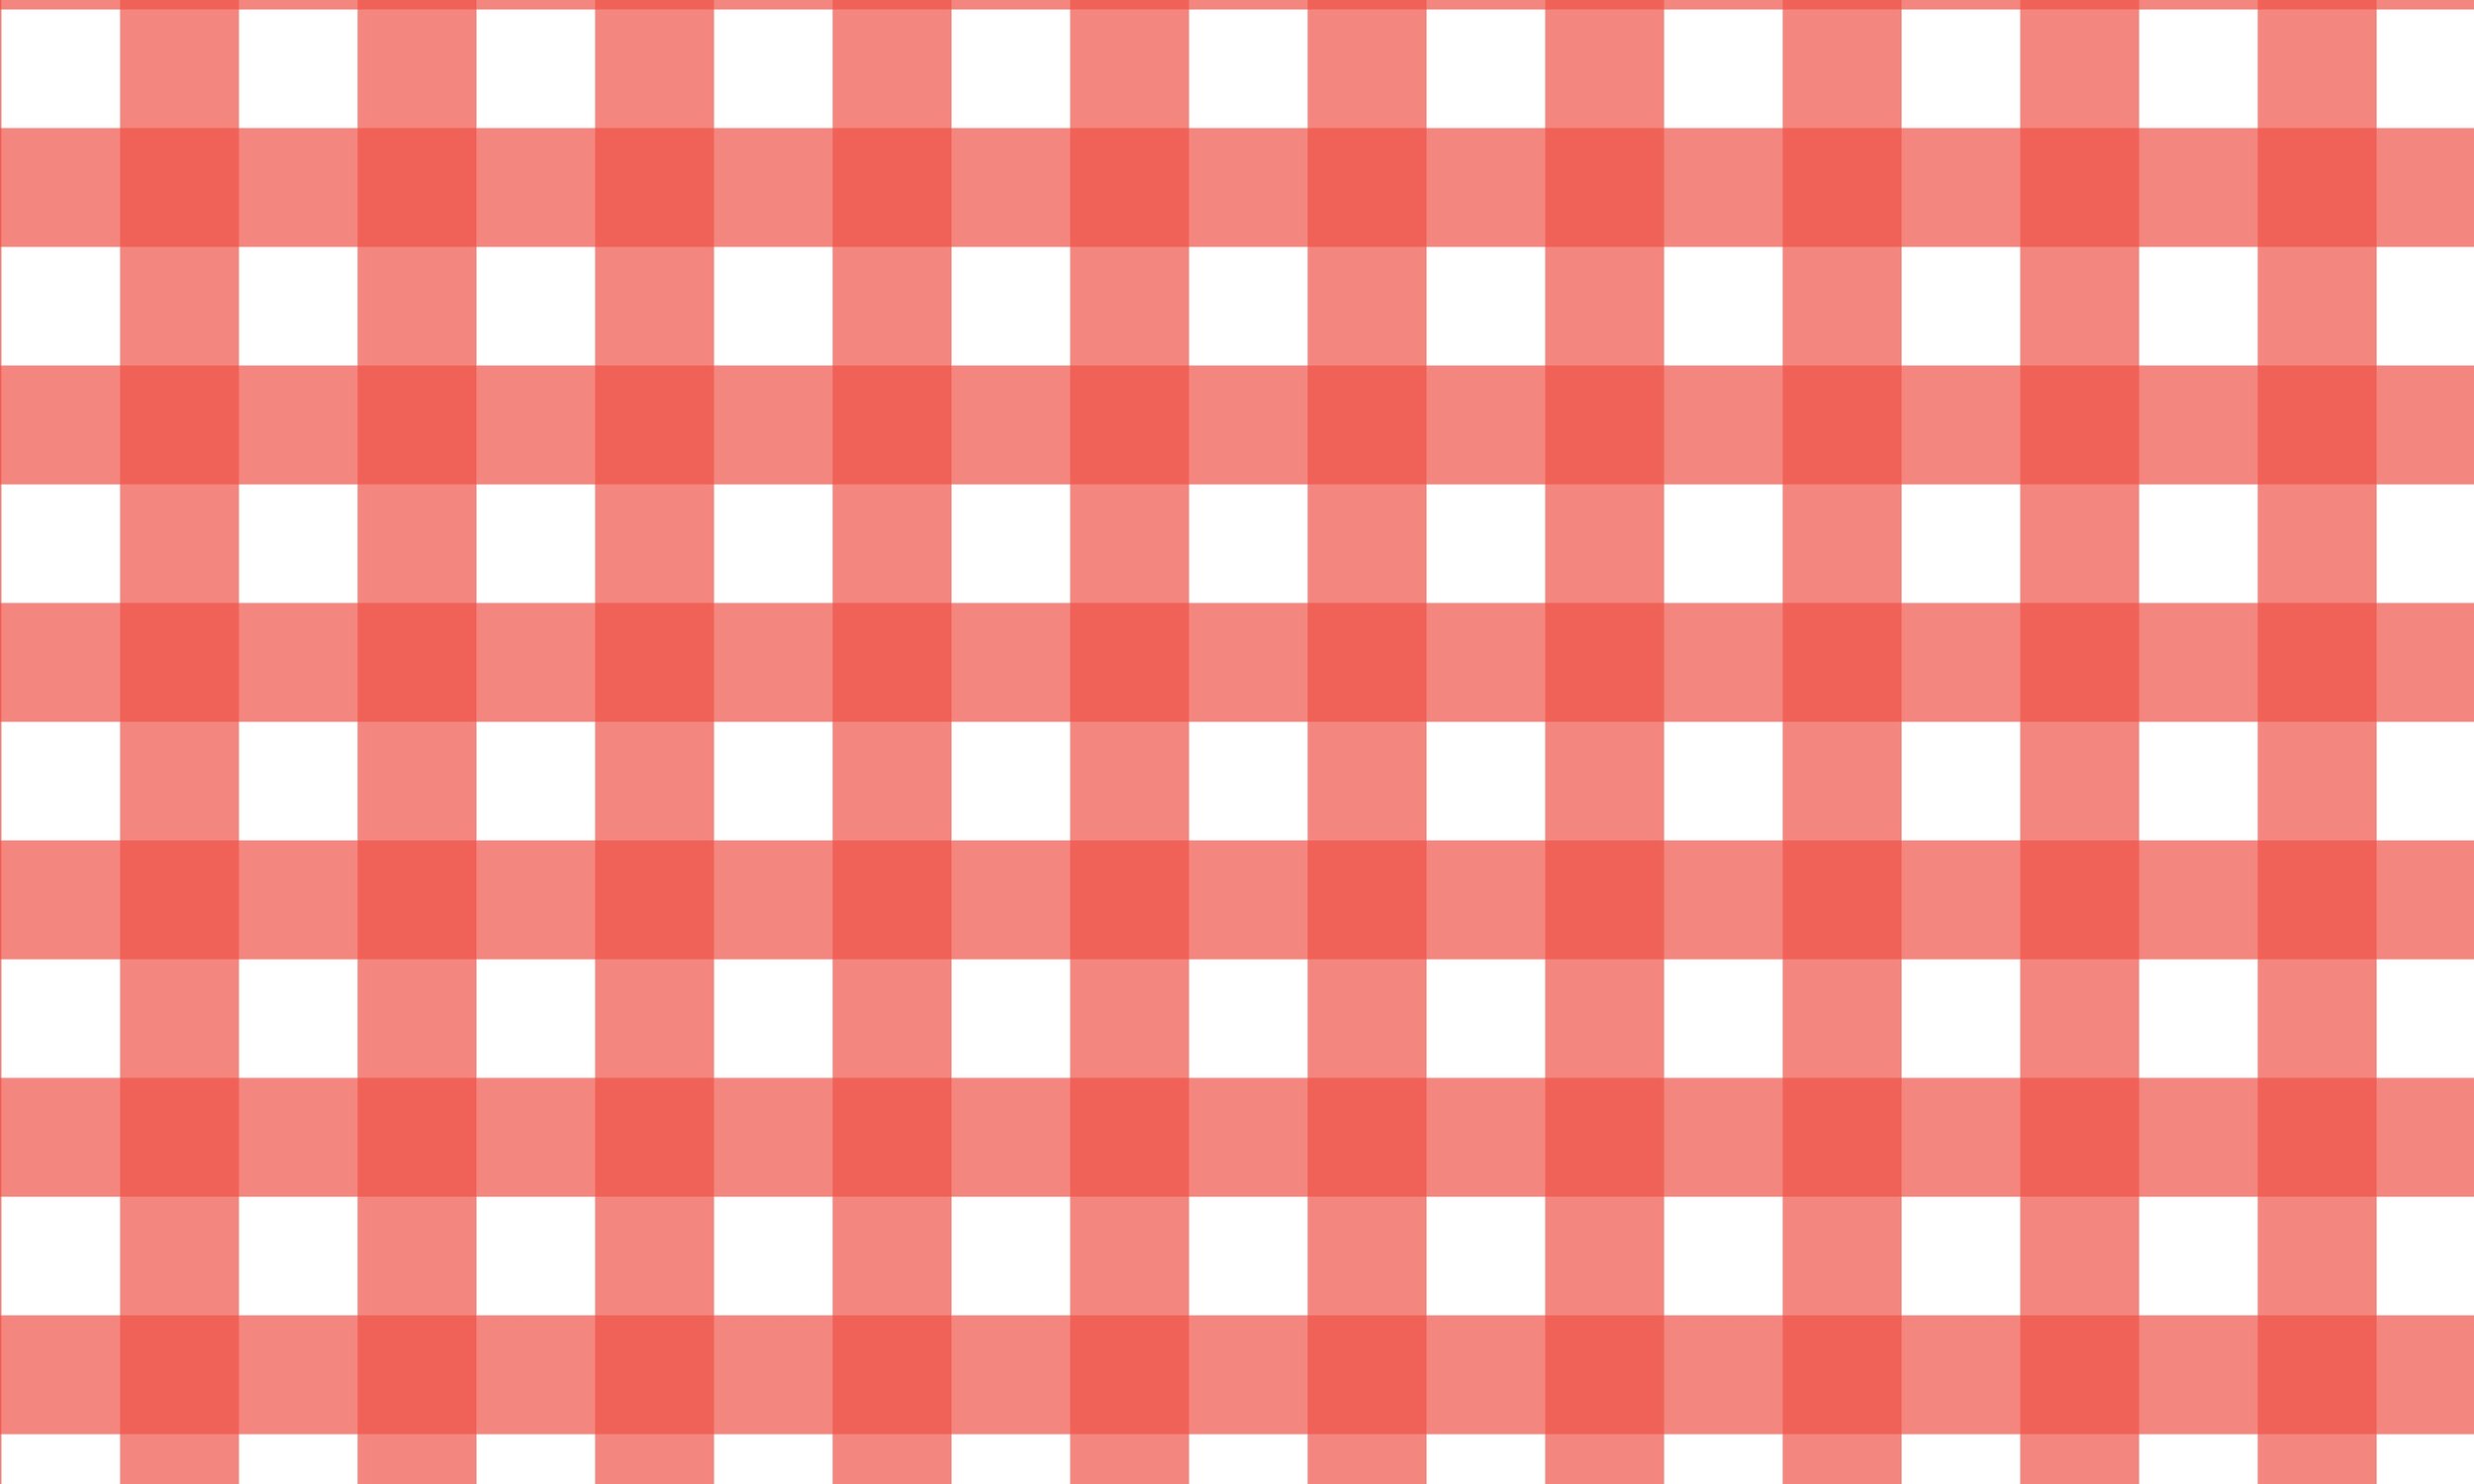
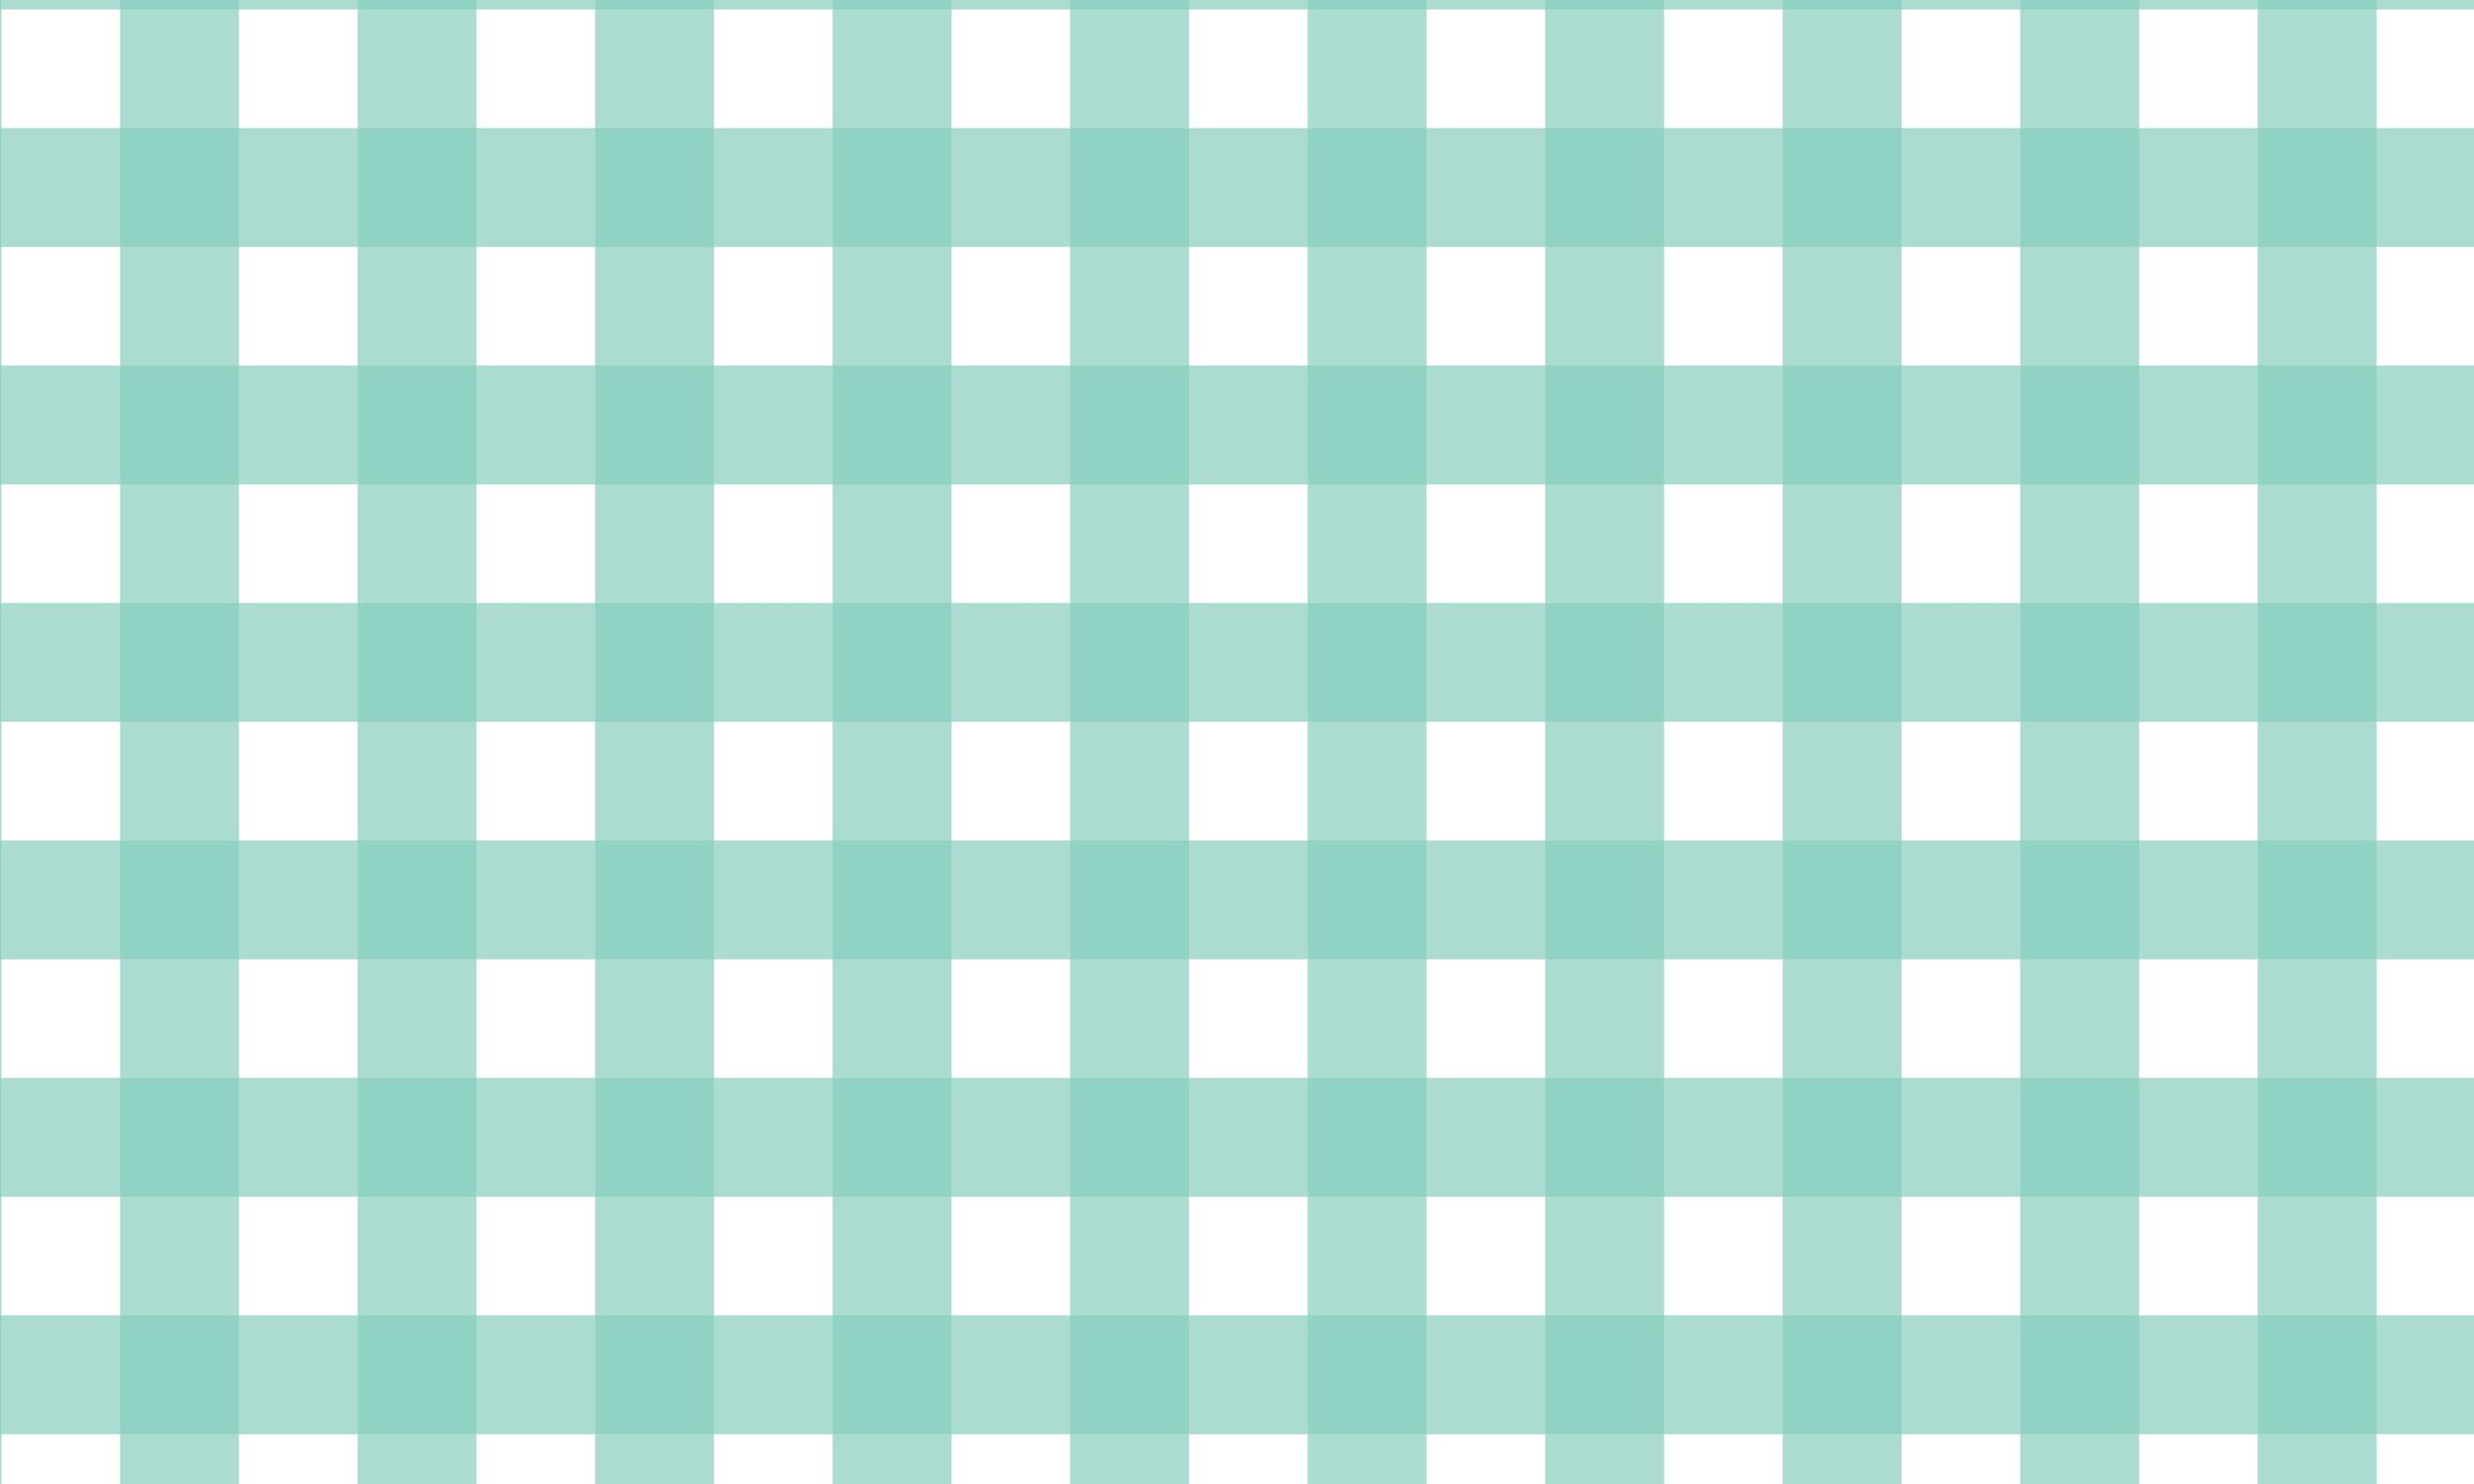
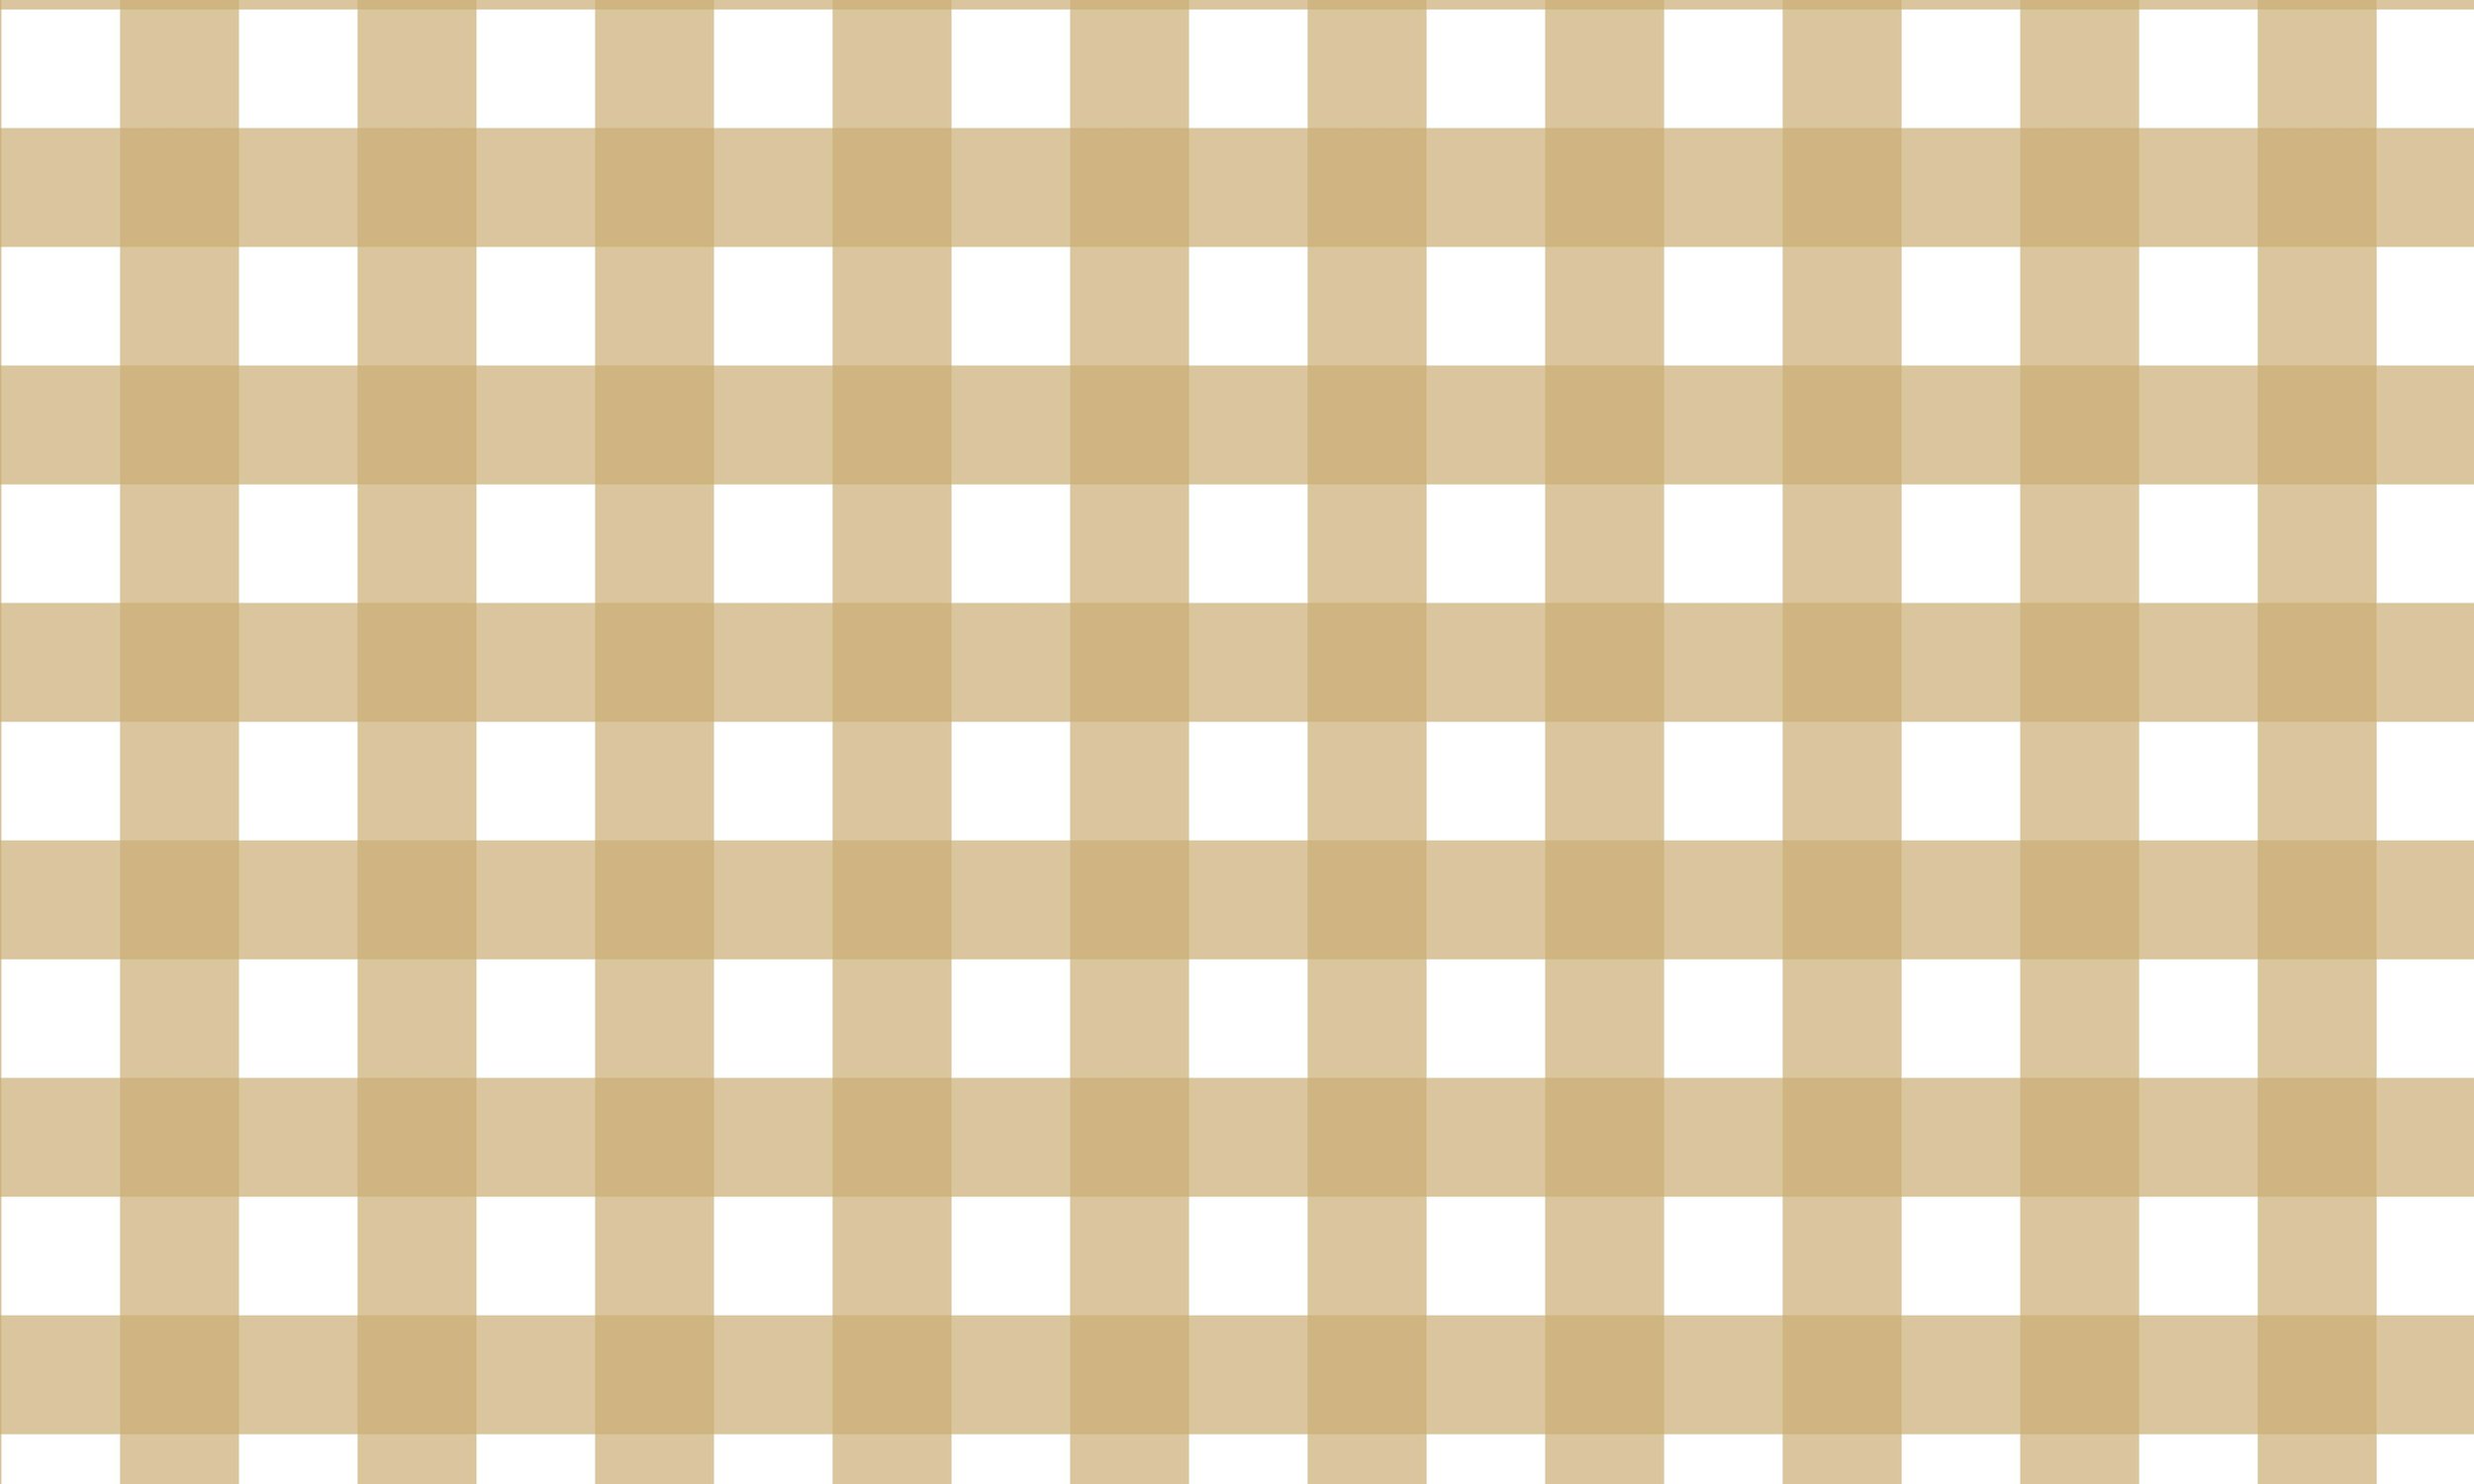
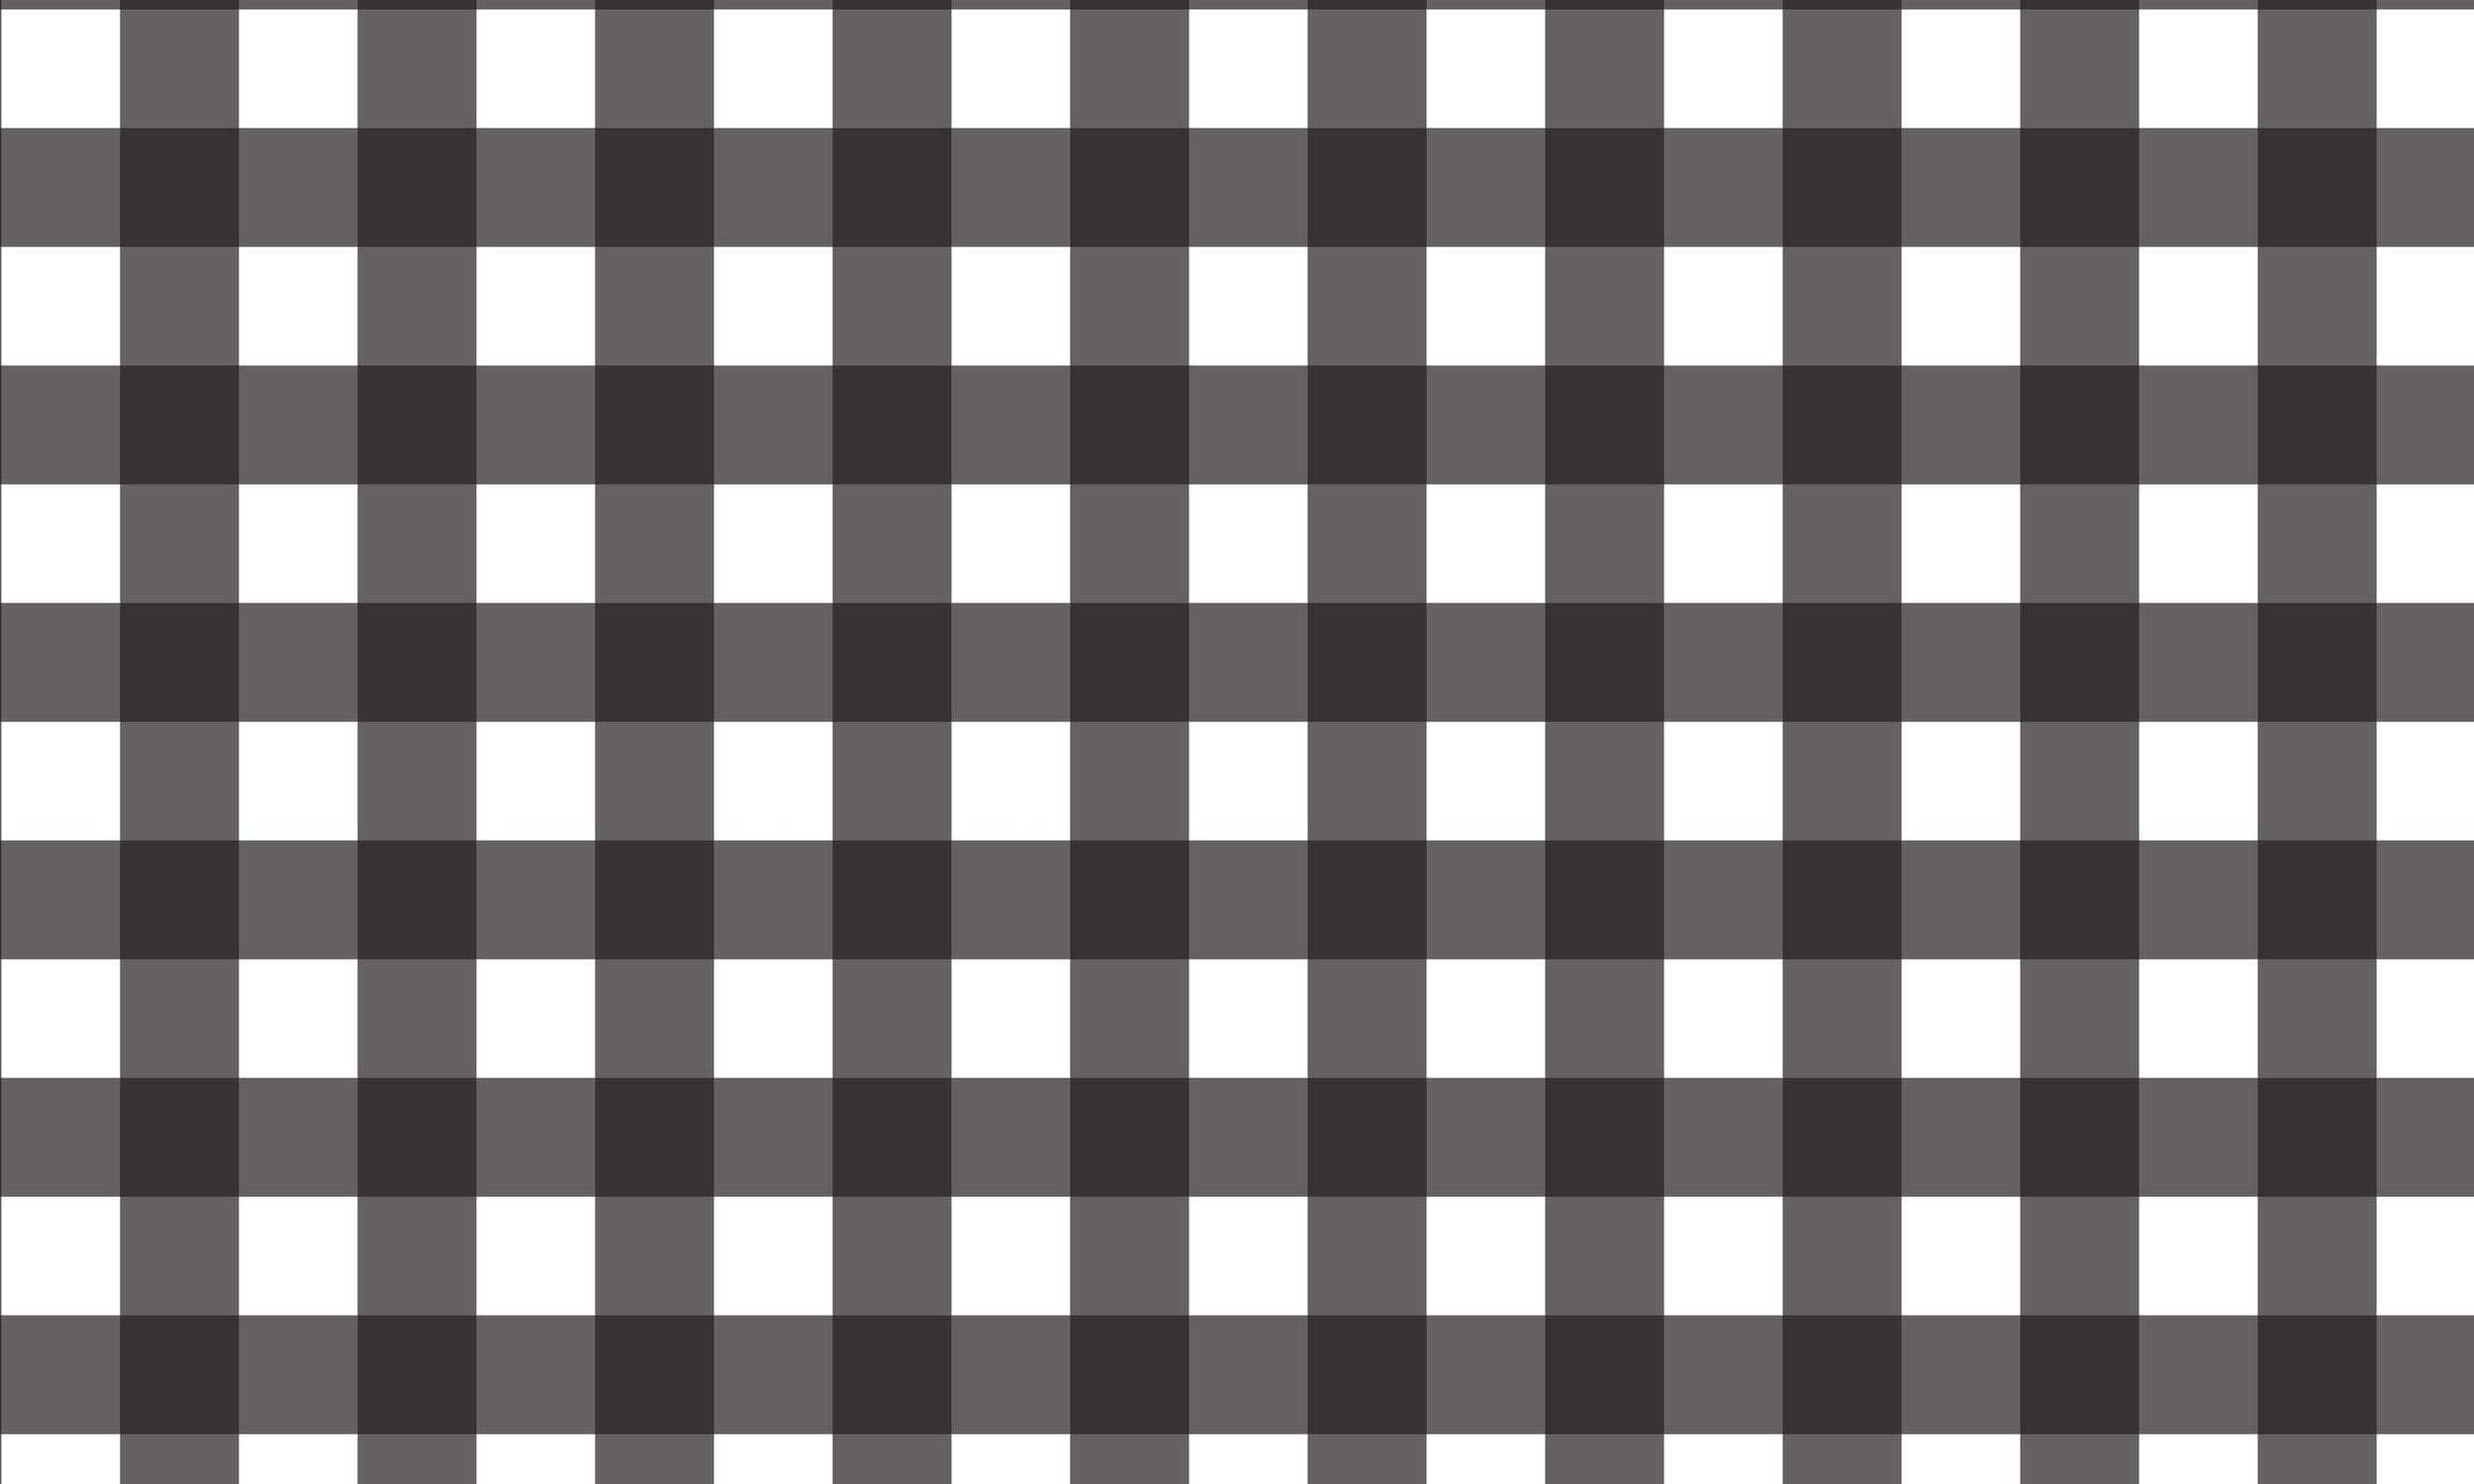
Pattern designers keep up with trends in the market, but there are some types of patterns that never go out of style. They have a classic, timelessness and elegance that is useful in textile design regardless of current trends. Gingham is a pattern that is so perfect for different seasons. It is one of my favorite patterns. In the Spring, a classic pink or blue gingham print is perfect for baby clothing, table linens, ribbons, and more. In the winter season, a red and black gingham, or a black and white gingham is always so classic for clothing or home decor.

Gingham Style
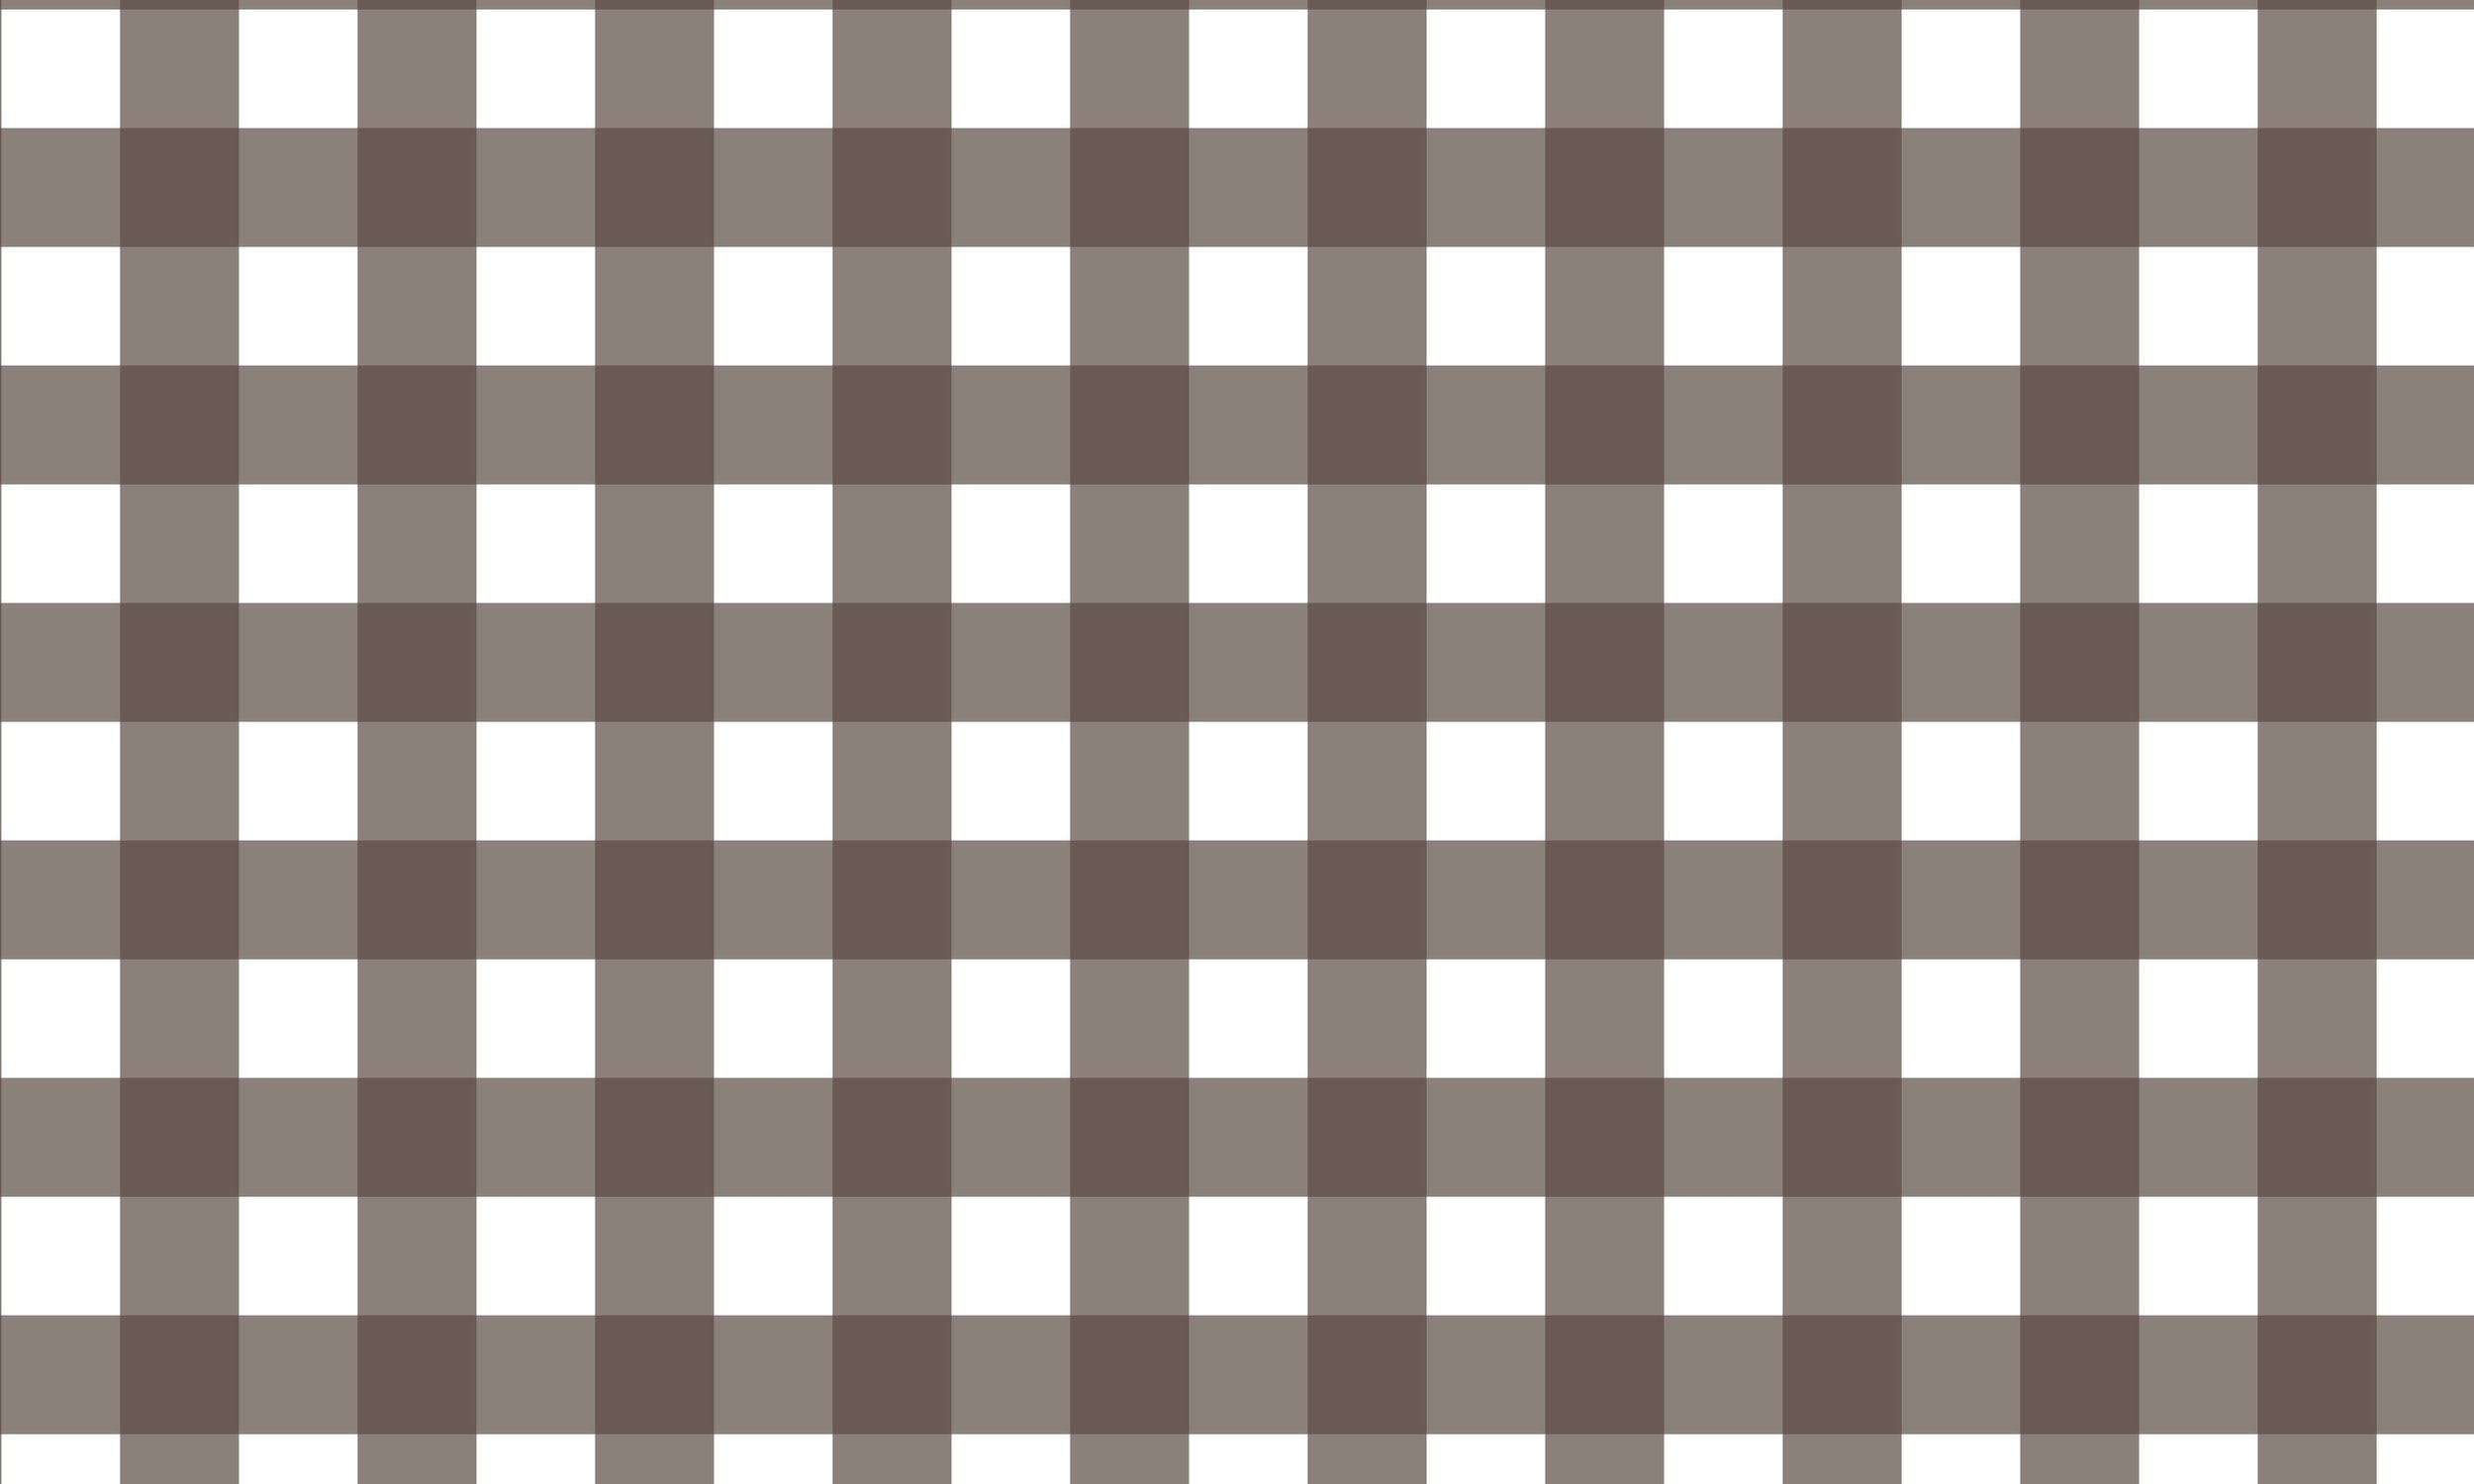
The gingham print is a simple pattern. Recently, I was shopping and found a cute romper for my baby with a soft pink, gingham print. It is such a sweet pattern for babies. I am always so drawn to this pattern for tops, or hair accessories for me too. I especially love the black and white buffalo checkered print, similar to gingham but it uses a larger scale of the print, whereas most gingham prints have smaller scale of the print.

I use it quite a bit in my home decor as well. These outdoor pillows are some of my favorites!

Gingham Tutorial
The gingham print is an easy pattern to design. I use Adobe Illustrator to create my patterns.
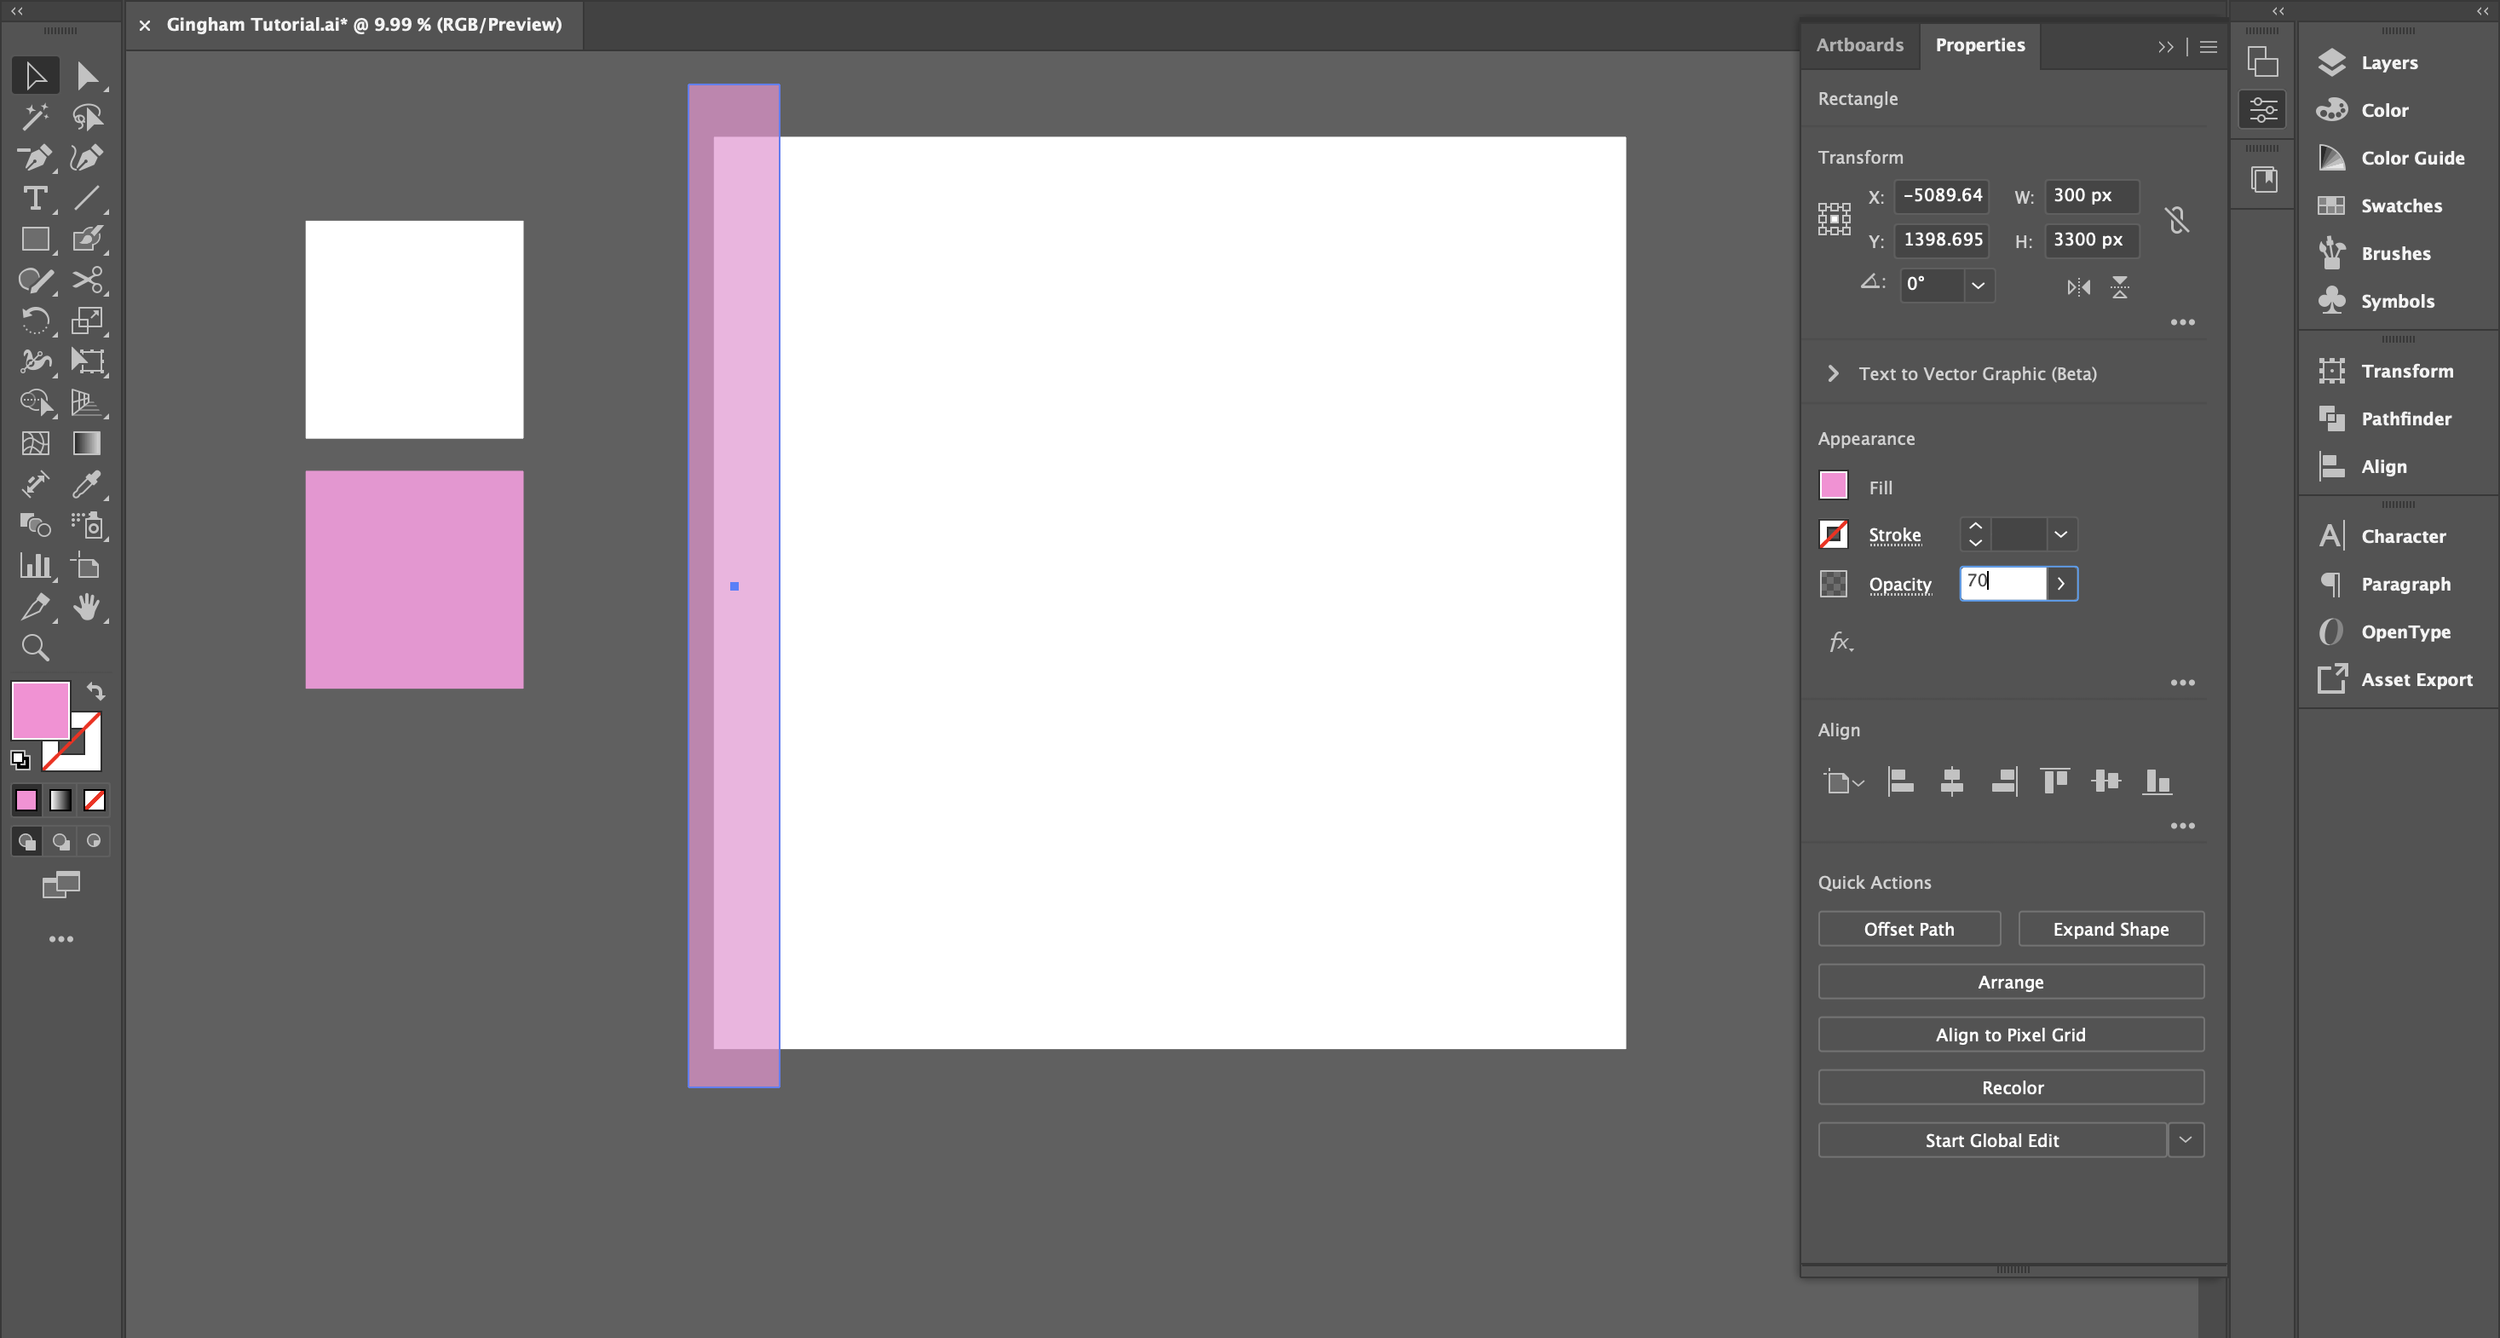
Step 1: Create your pattern block using the Rectangle Tool in Adobe Illustrator. I use a square at 3000px x 3000px.

Step 2: Create a stripe using the Rectangle Tool in Adobe Illustrator. This is 1/10 the size of the pattern block and hangs off the edge of the pattern block for the seamless repeat. It is sized at 300px x 3300px.

Step 3: Change the Opacity of the stripe under Properties. I changed it to 70%. This is necessary to create an overlap of different opacities in the final print.
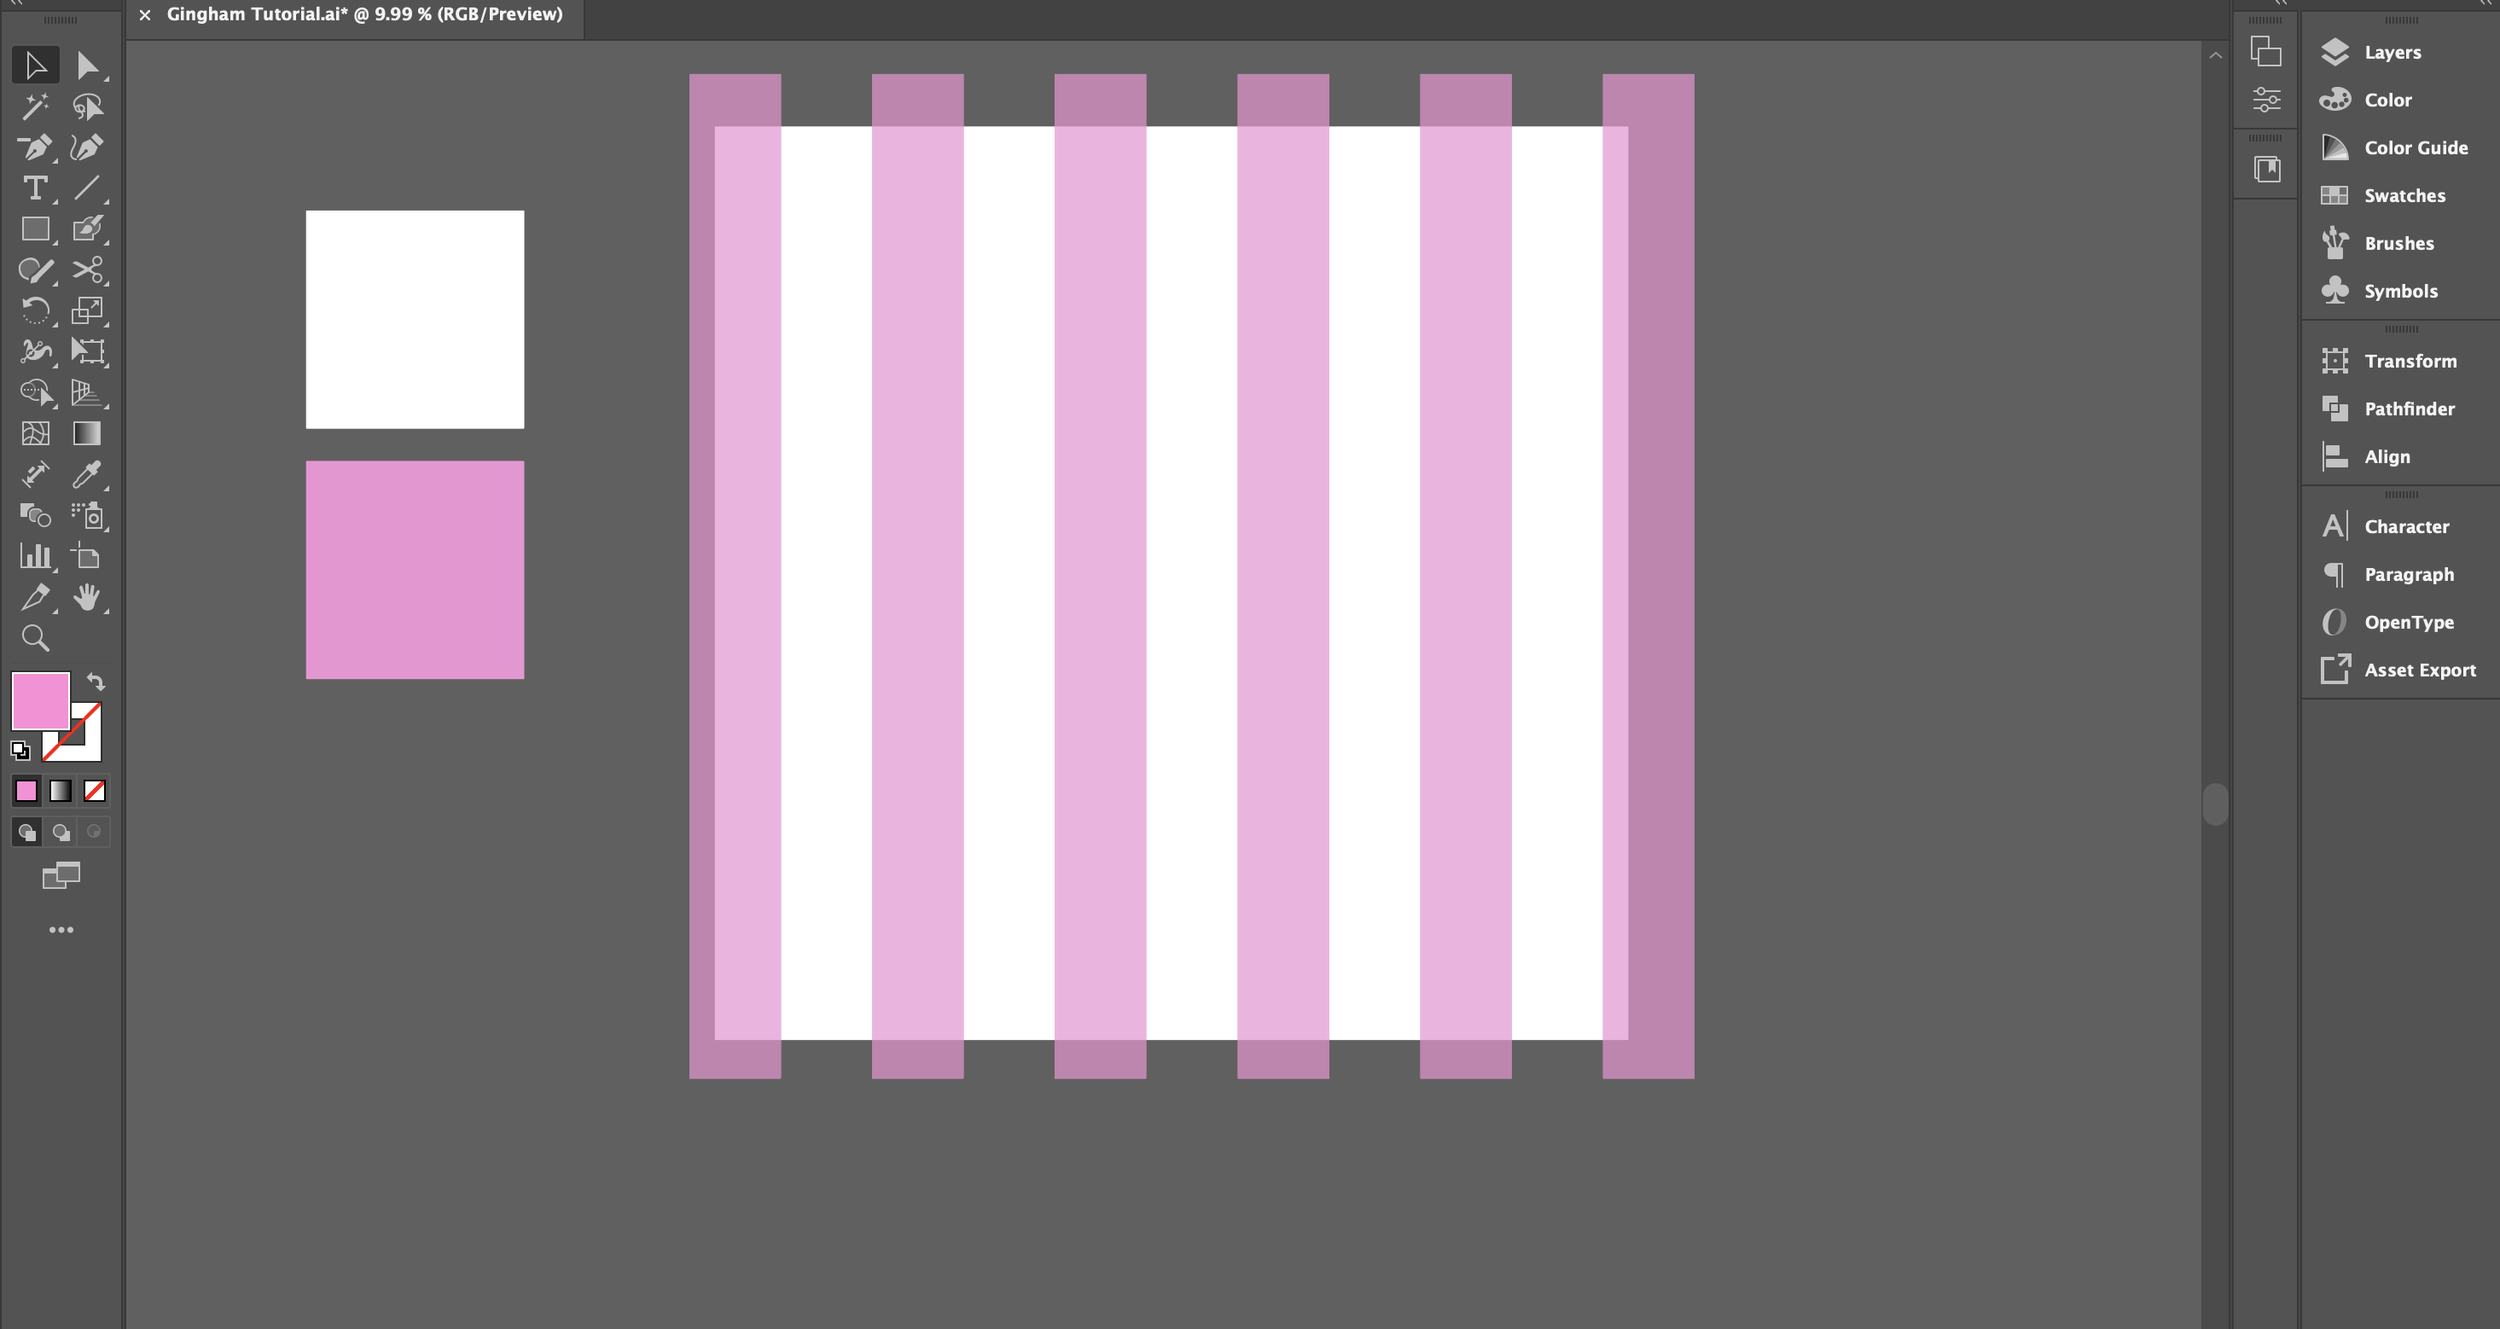
Step 4: Copy the stripe by right-clicking and scrolling to the Transform Tool. Move the stripe 300px horizontally and 0px vertically. Make sure Transform Objects is checked. Copy it once and then used Command D to repeat this action until it crosses the axis on the right side.

It should look like this.

Step 5: Delete every other stripe. There should be 6 strips left. The first stripe is copied in the exact same location between the left and right sides of the pattern block, so that the repeat is seamless.
Step 6: Select the stripes and group them, Command G. Right-click and scroll down to the Transform Tool. Rotate the stripes 90 degrees. Make sure Transform Objects is checked. Click Copy.

Step 7: Copy and paste the pattern block in the back, Command C and then Command B. Change this to no-stroke and no-fill.
Step 8: Drag and drop the pattern block into the Swatches panel.
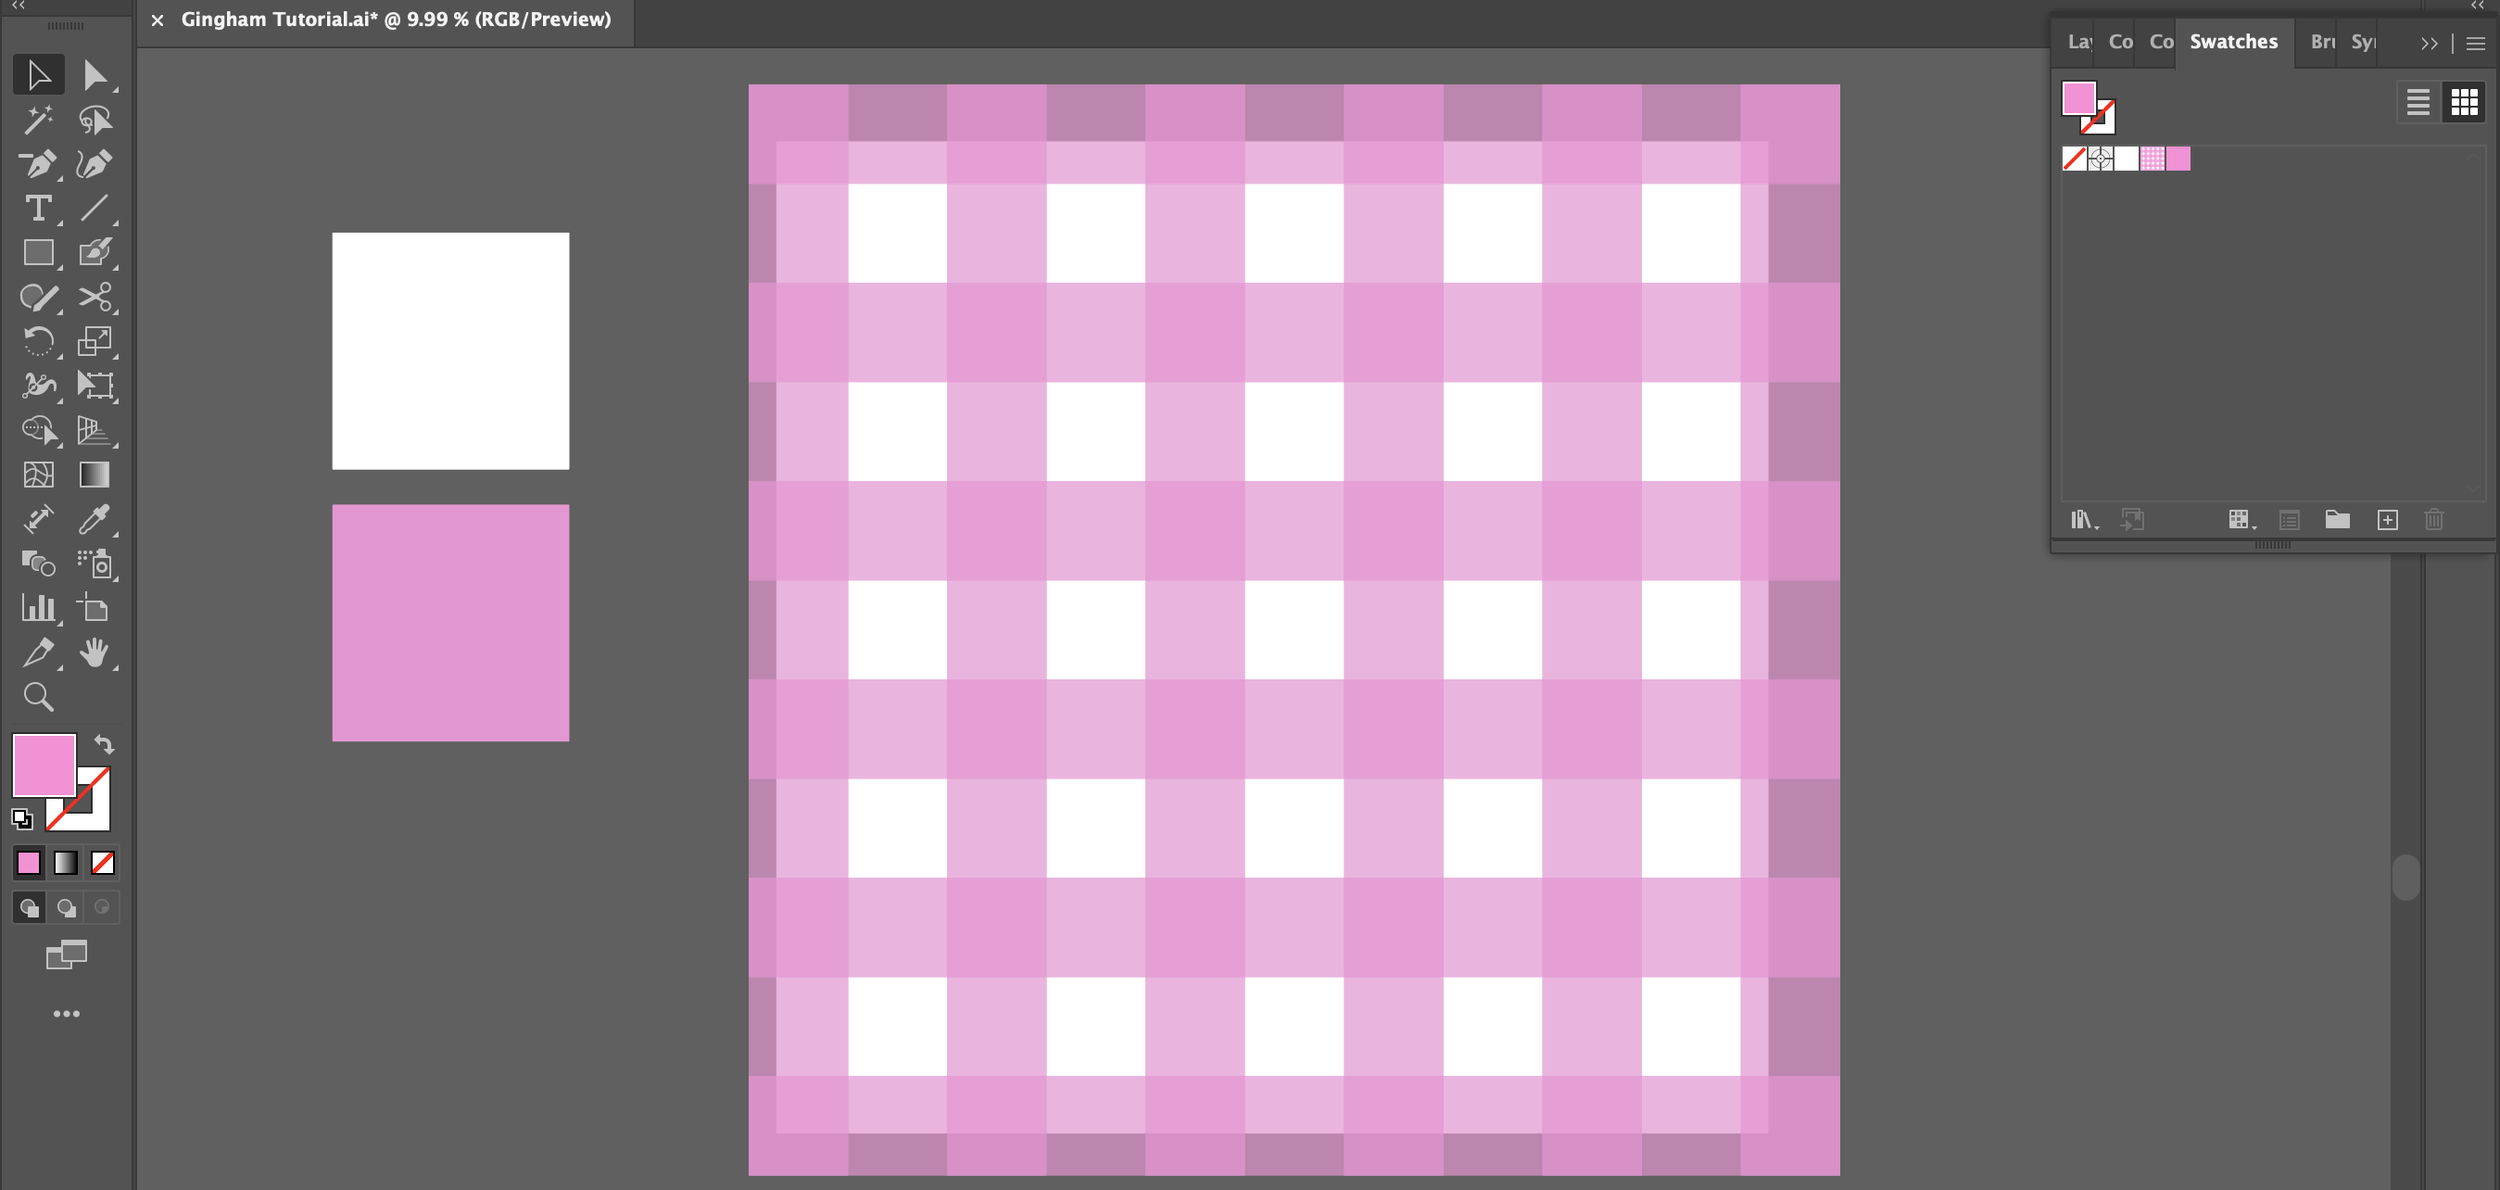
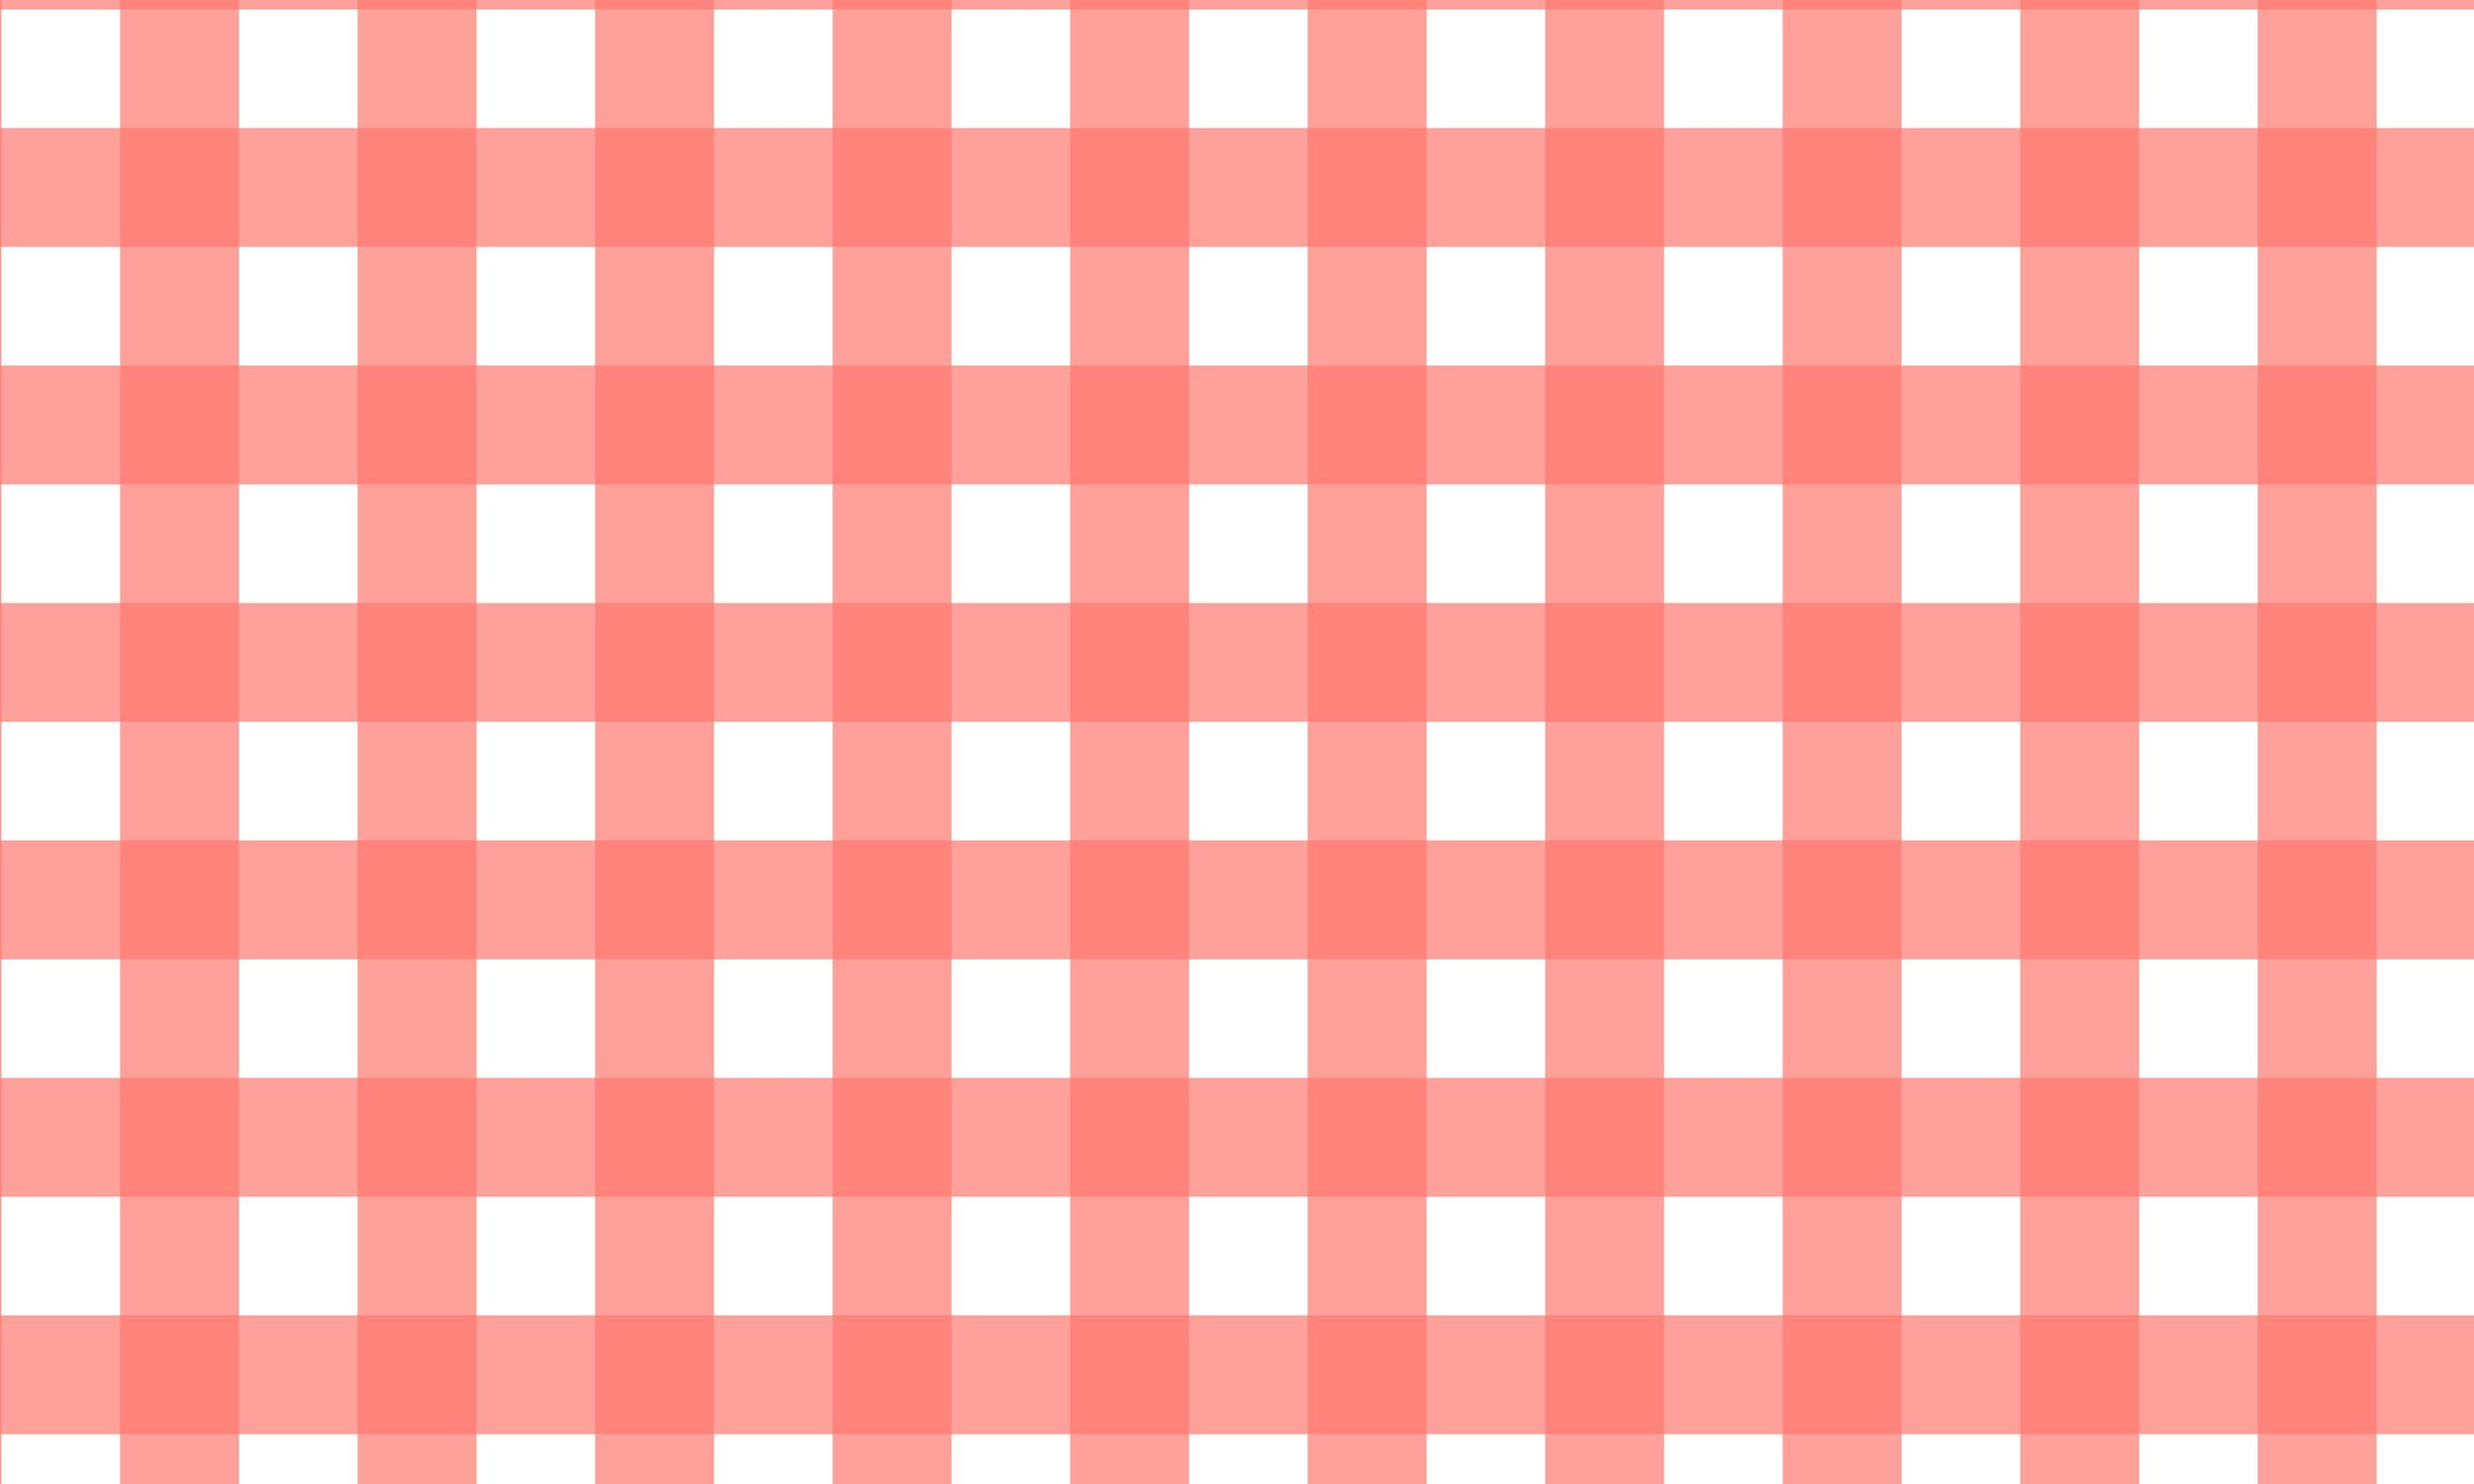
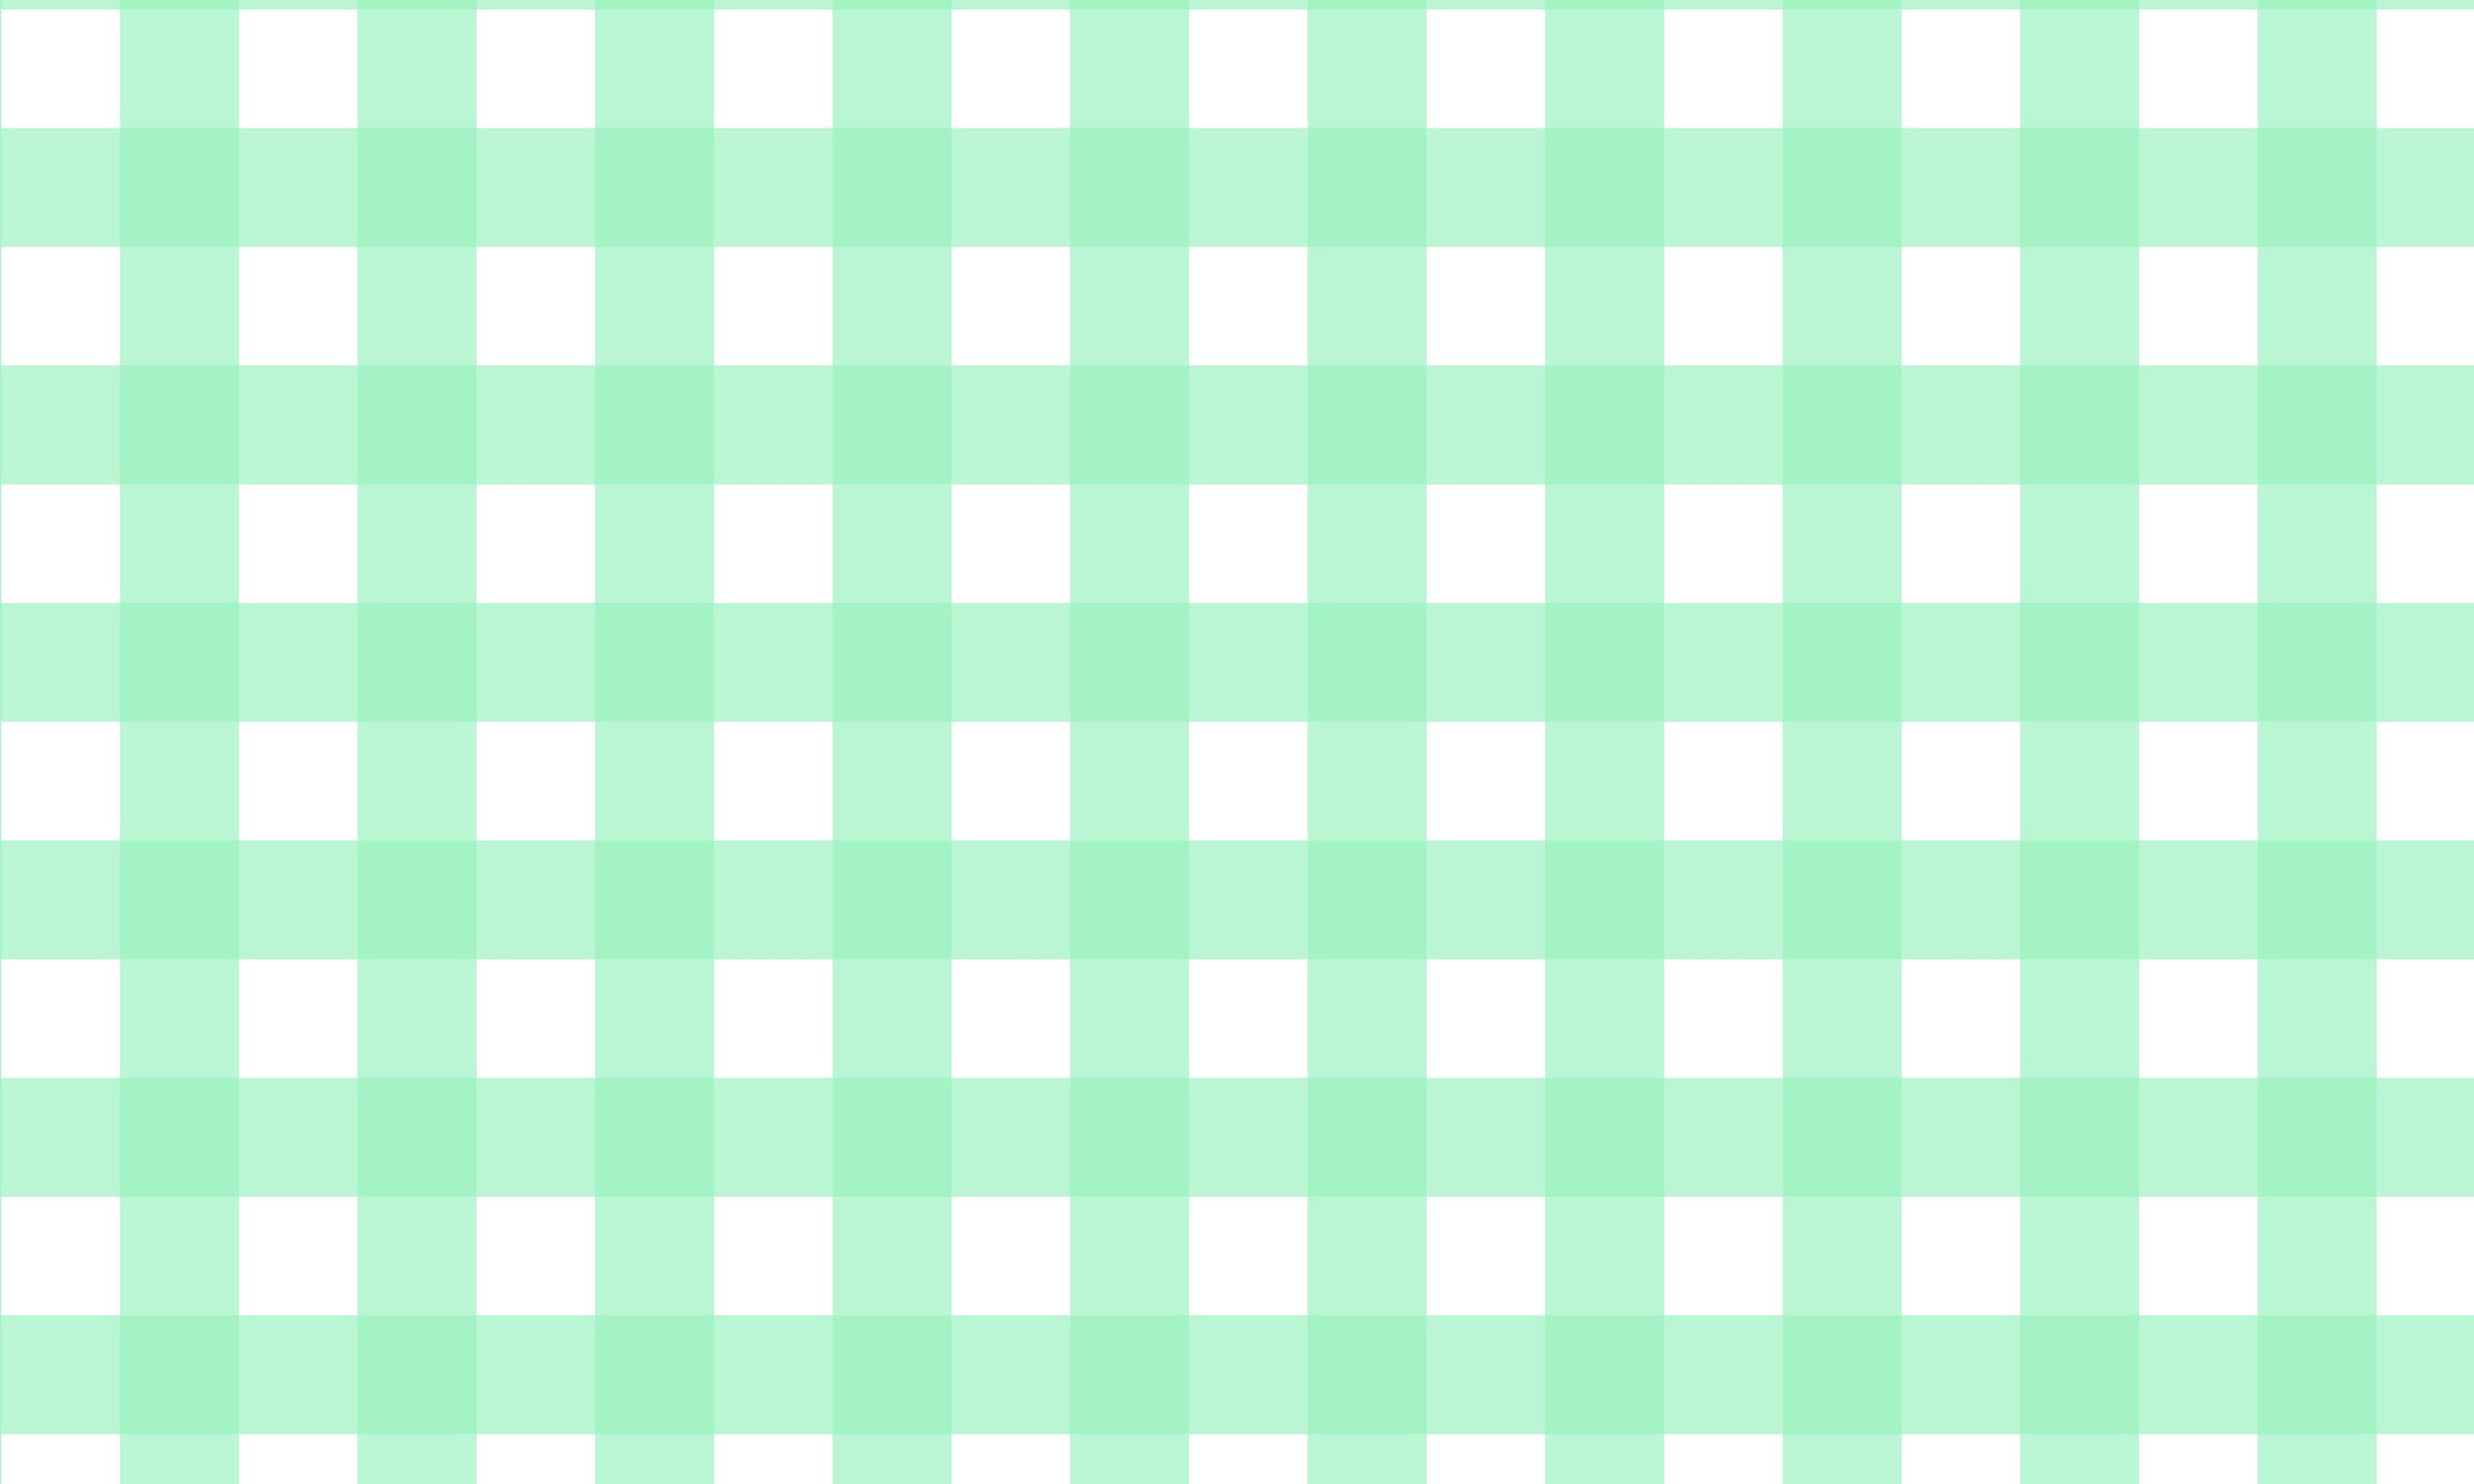
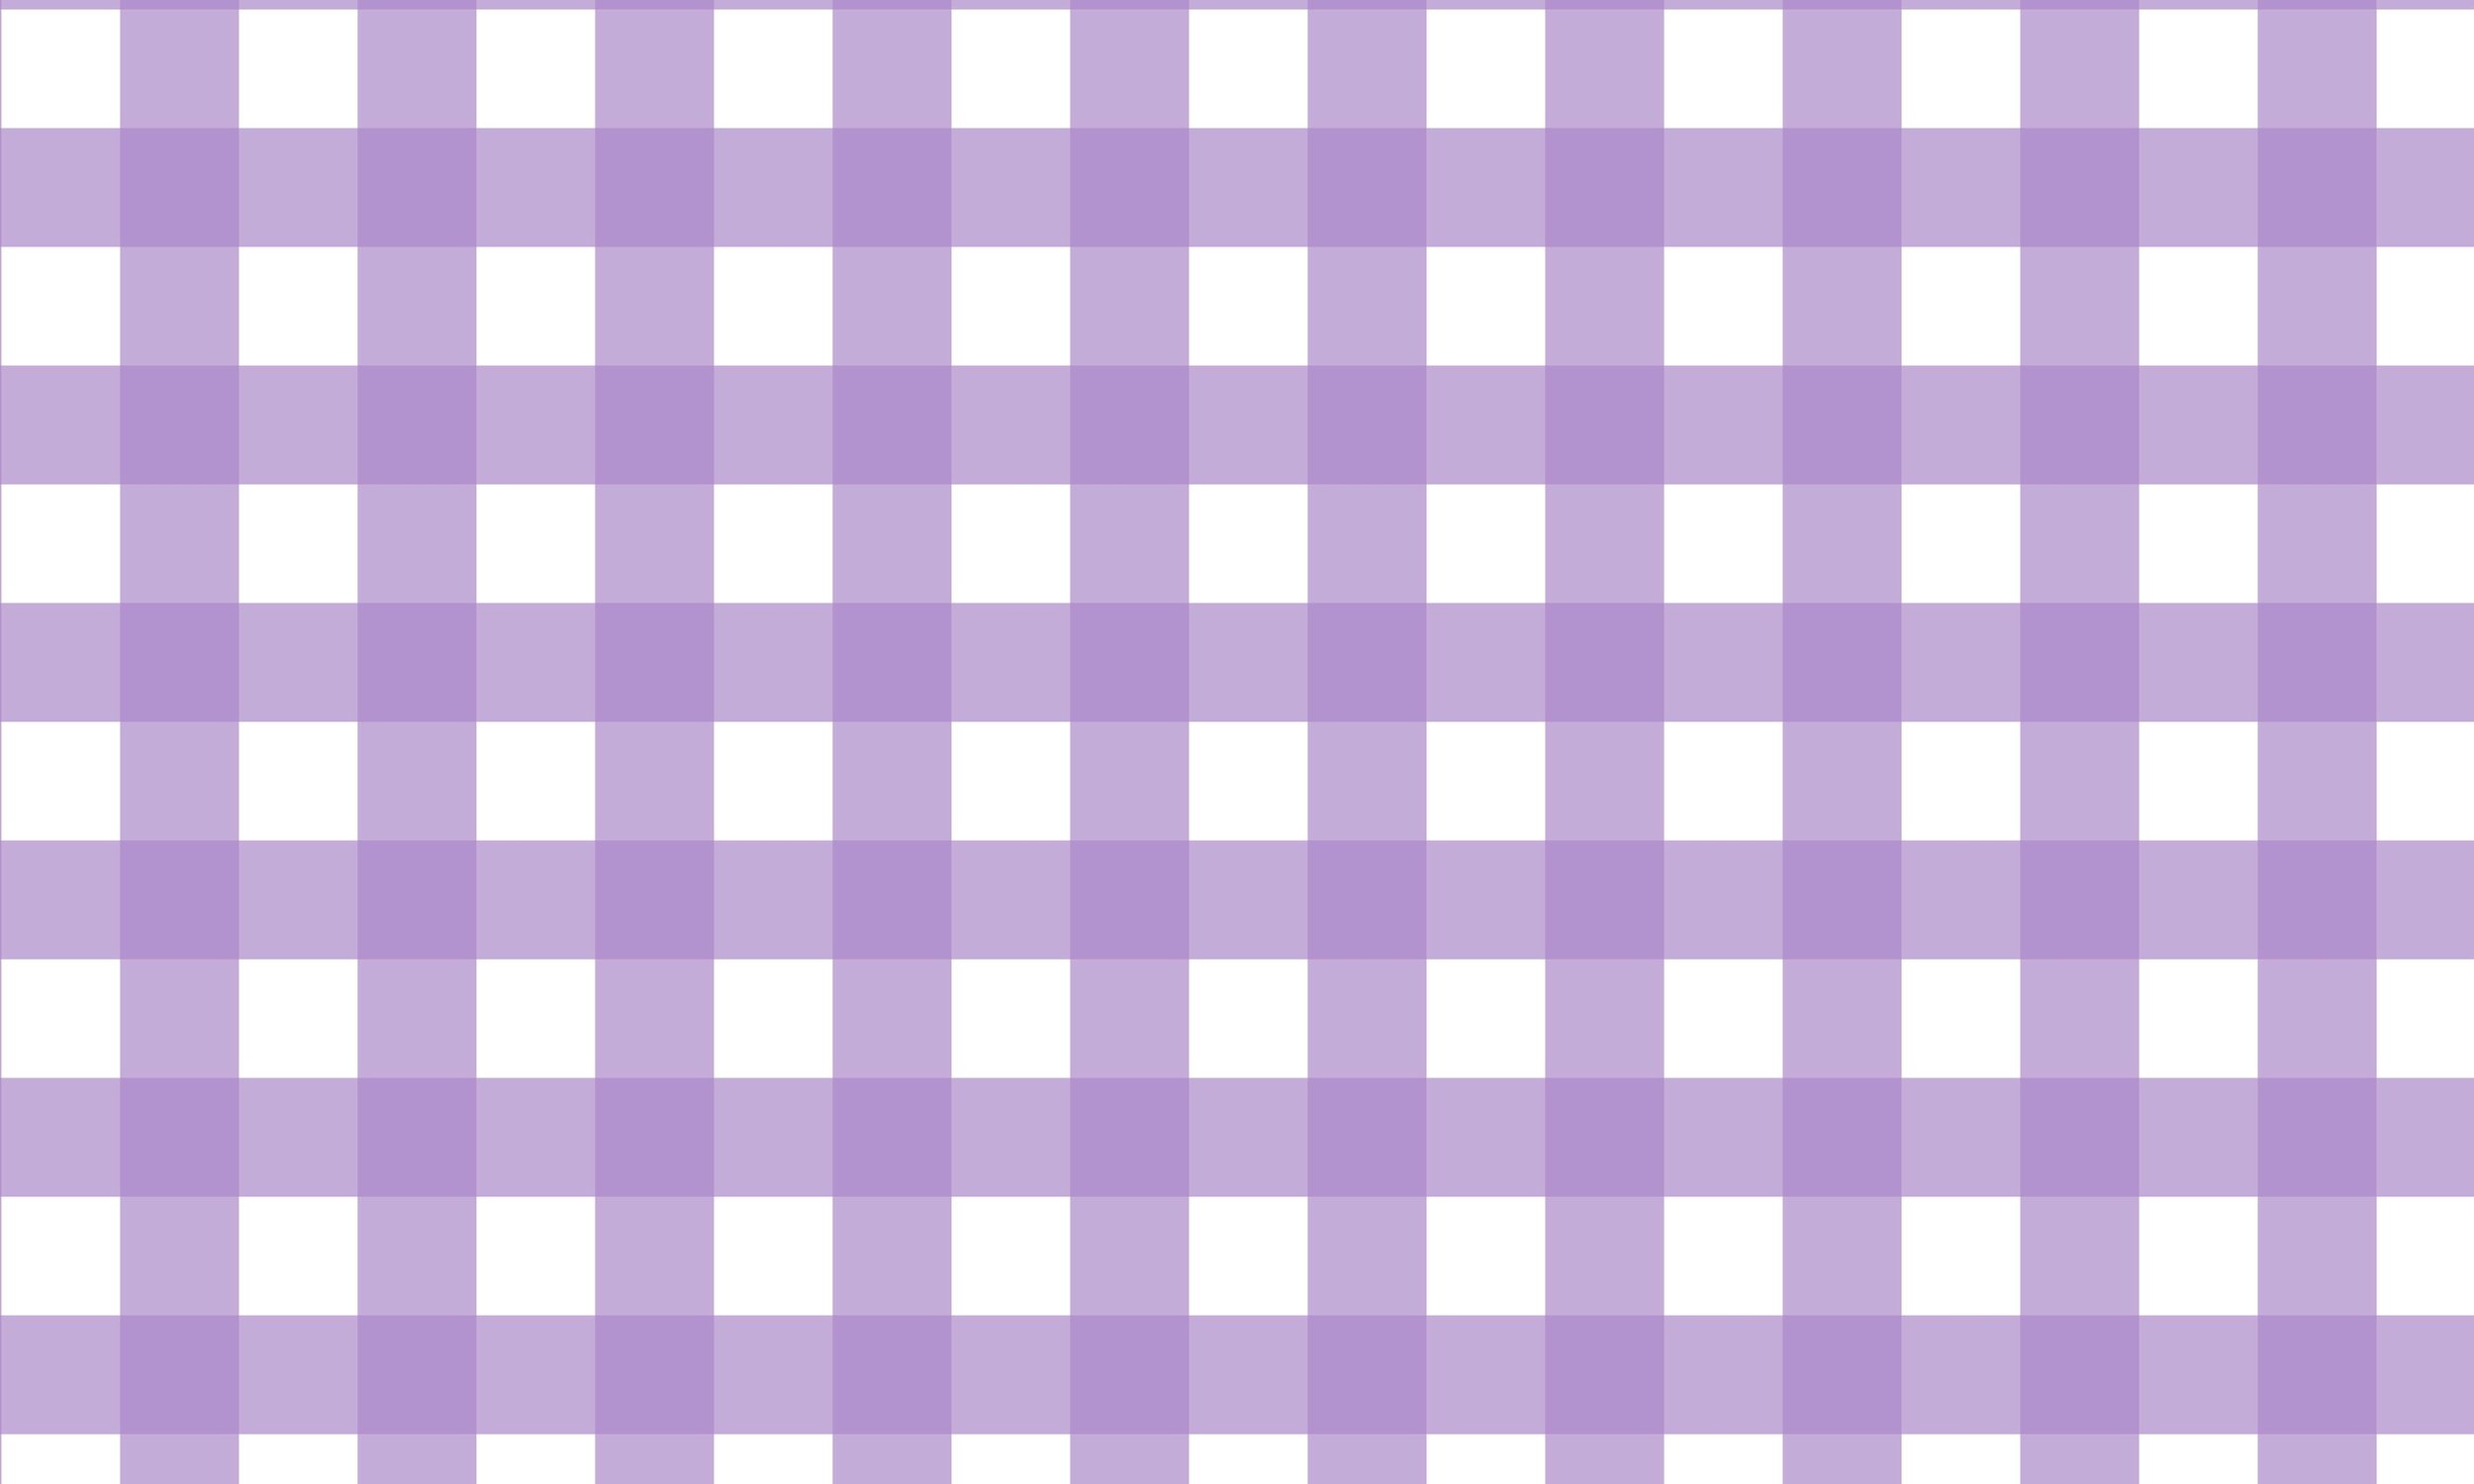
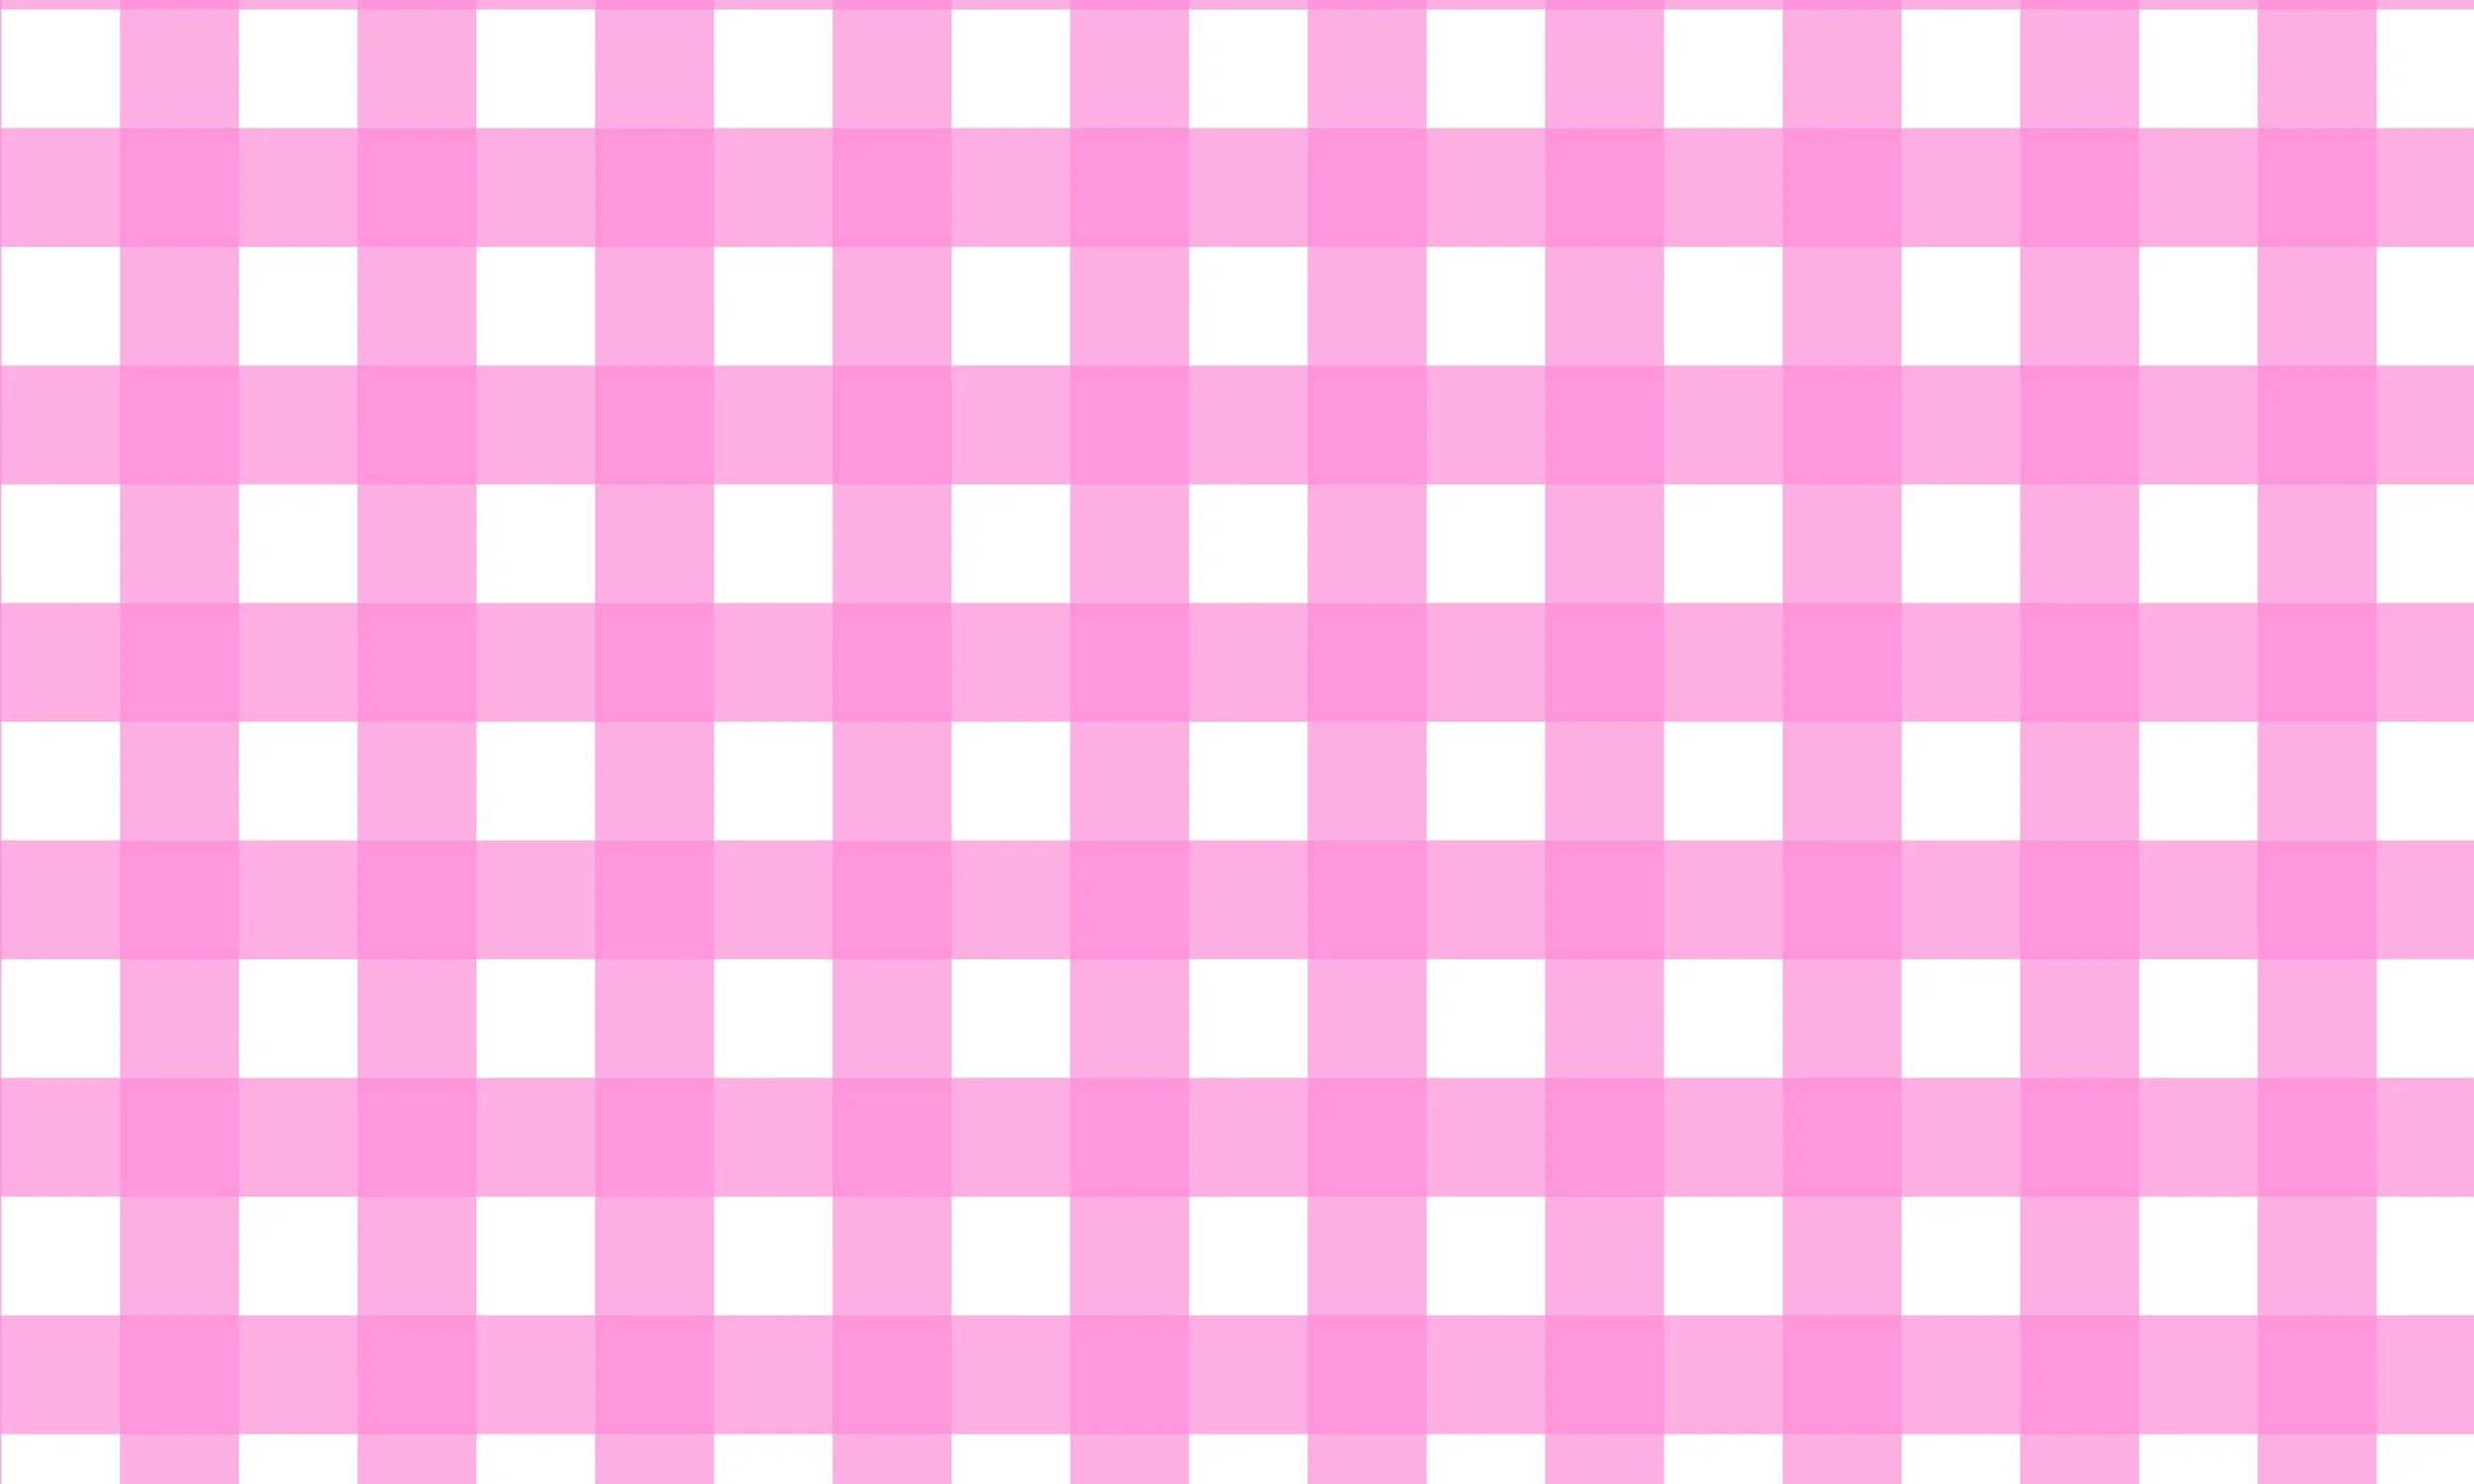
Step 9: Test out the pattern!
Step 10: Try out new colors. It is so fun to play with color. Once you design a pattern, it is simple to edit the colors with the Recolor Artwork Tool in Adobe Illustrator. Check out this blog post to learn more about the process of creating a custom color palette using the Recolor Artwork Tool.