

How to Create a Custom Color Palette in Adobe Illustrator Using a Photo

Creating a custom color palette in Adobe Illustrator is simple and fun! This allows you to pull colors from your own inspiration of photos or other items you have where the color is particularly aesthetically pleasing.
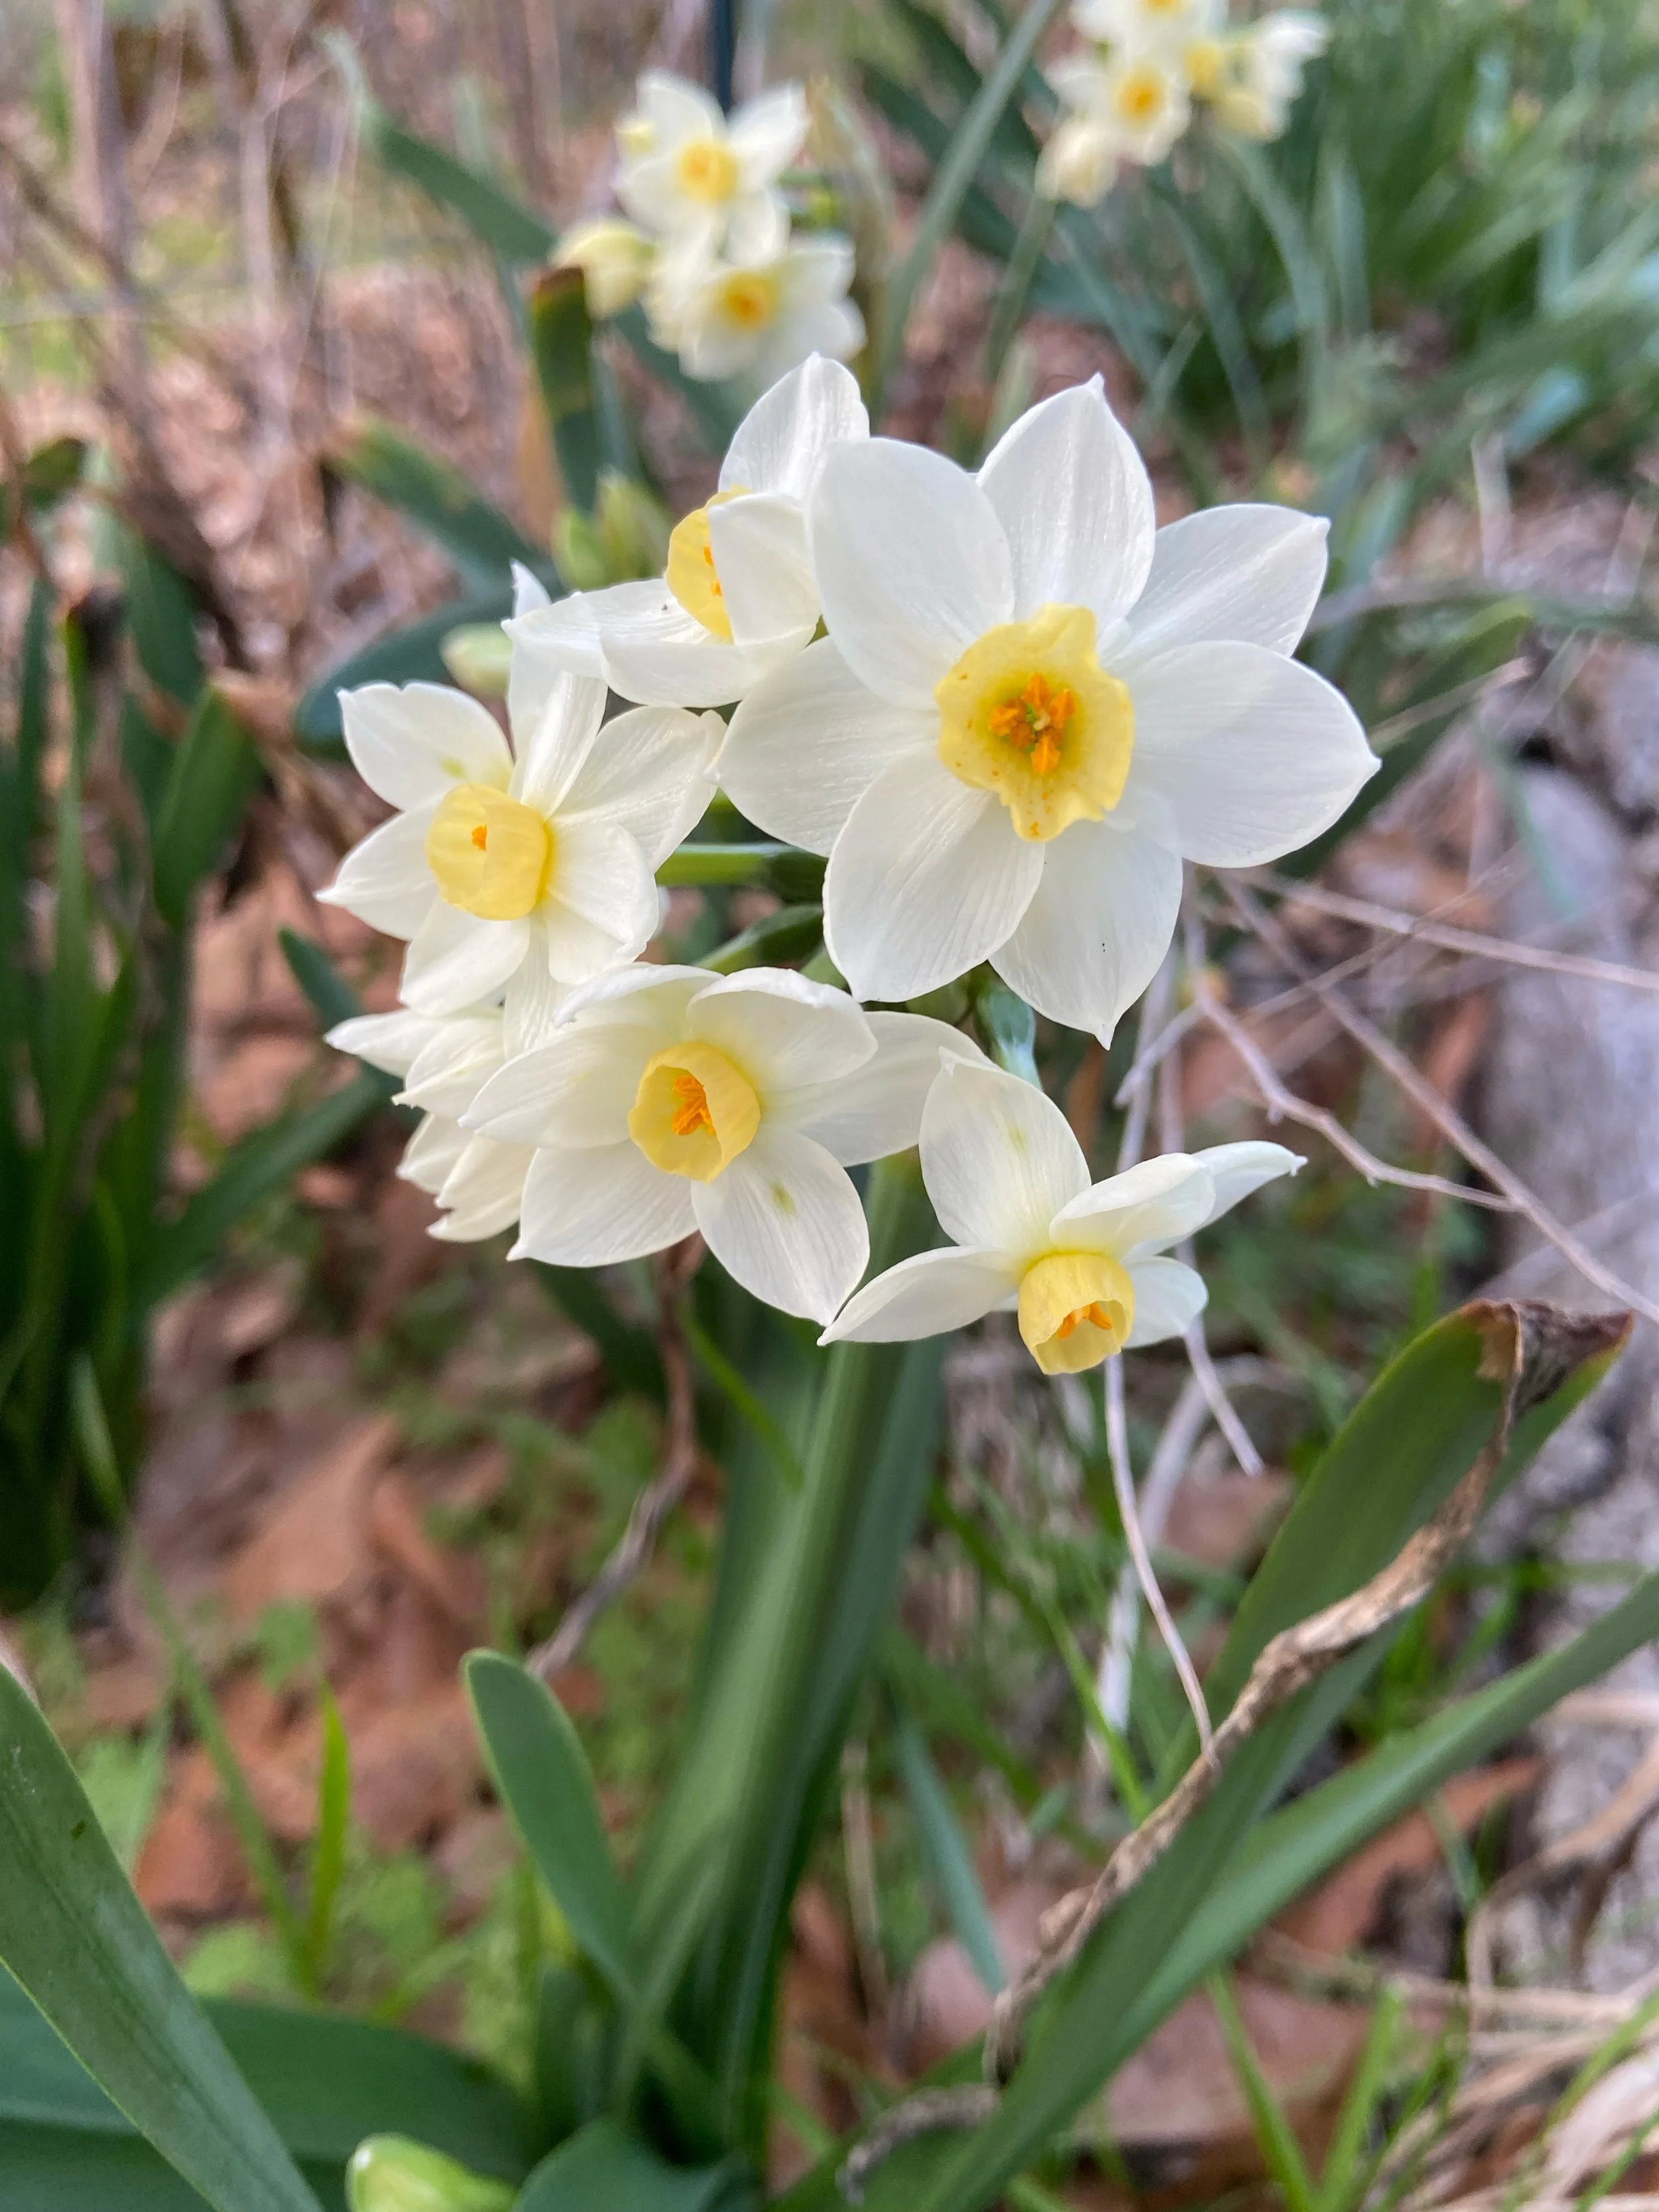
For this tutorial, I am using a photo of daffodils from my iPhone. I love the yellows and greens of the flower.

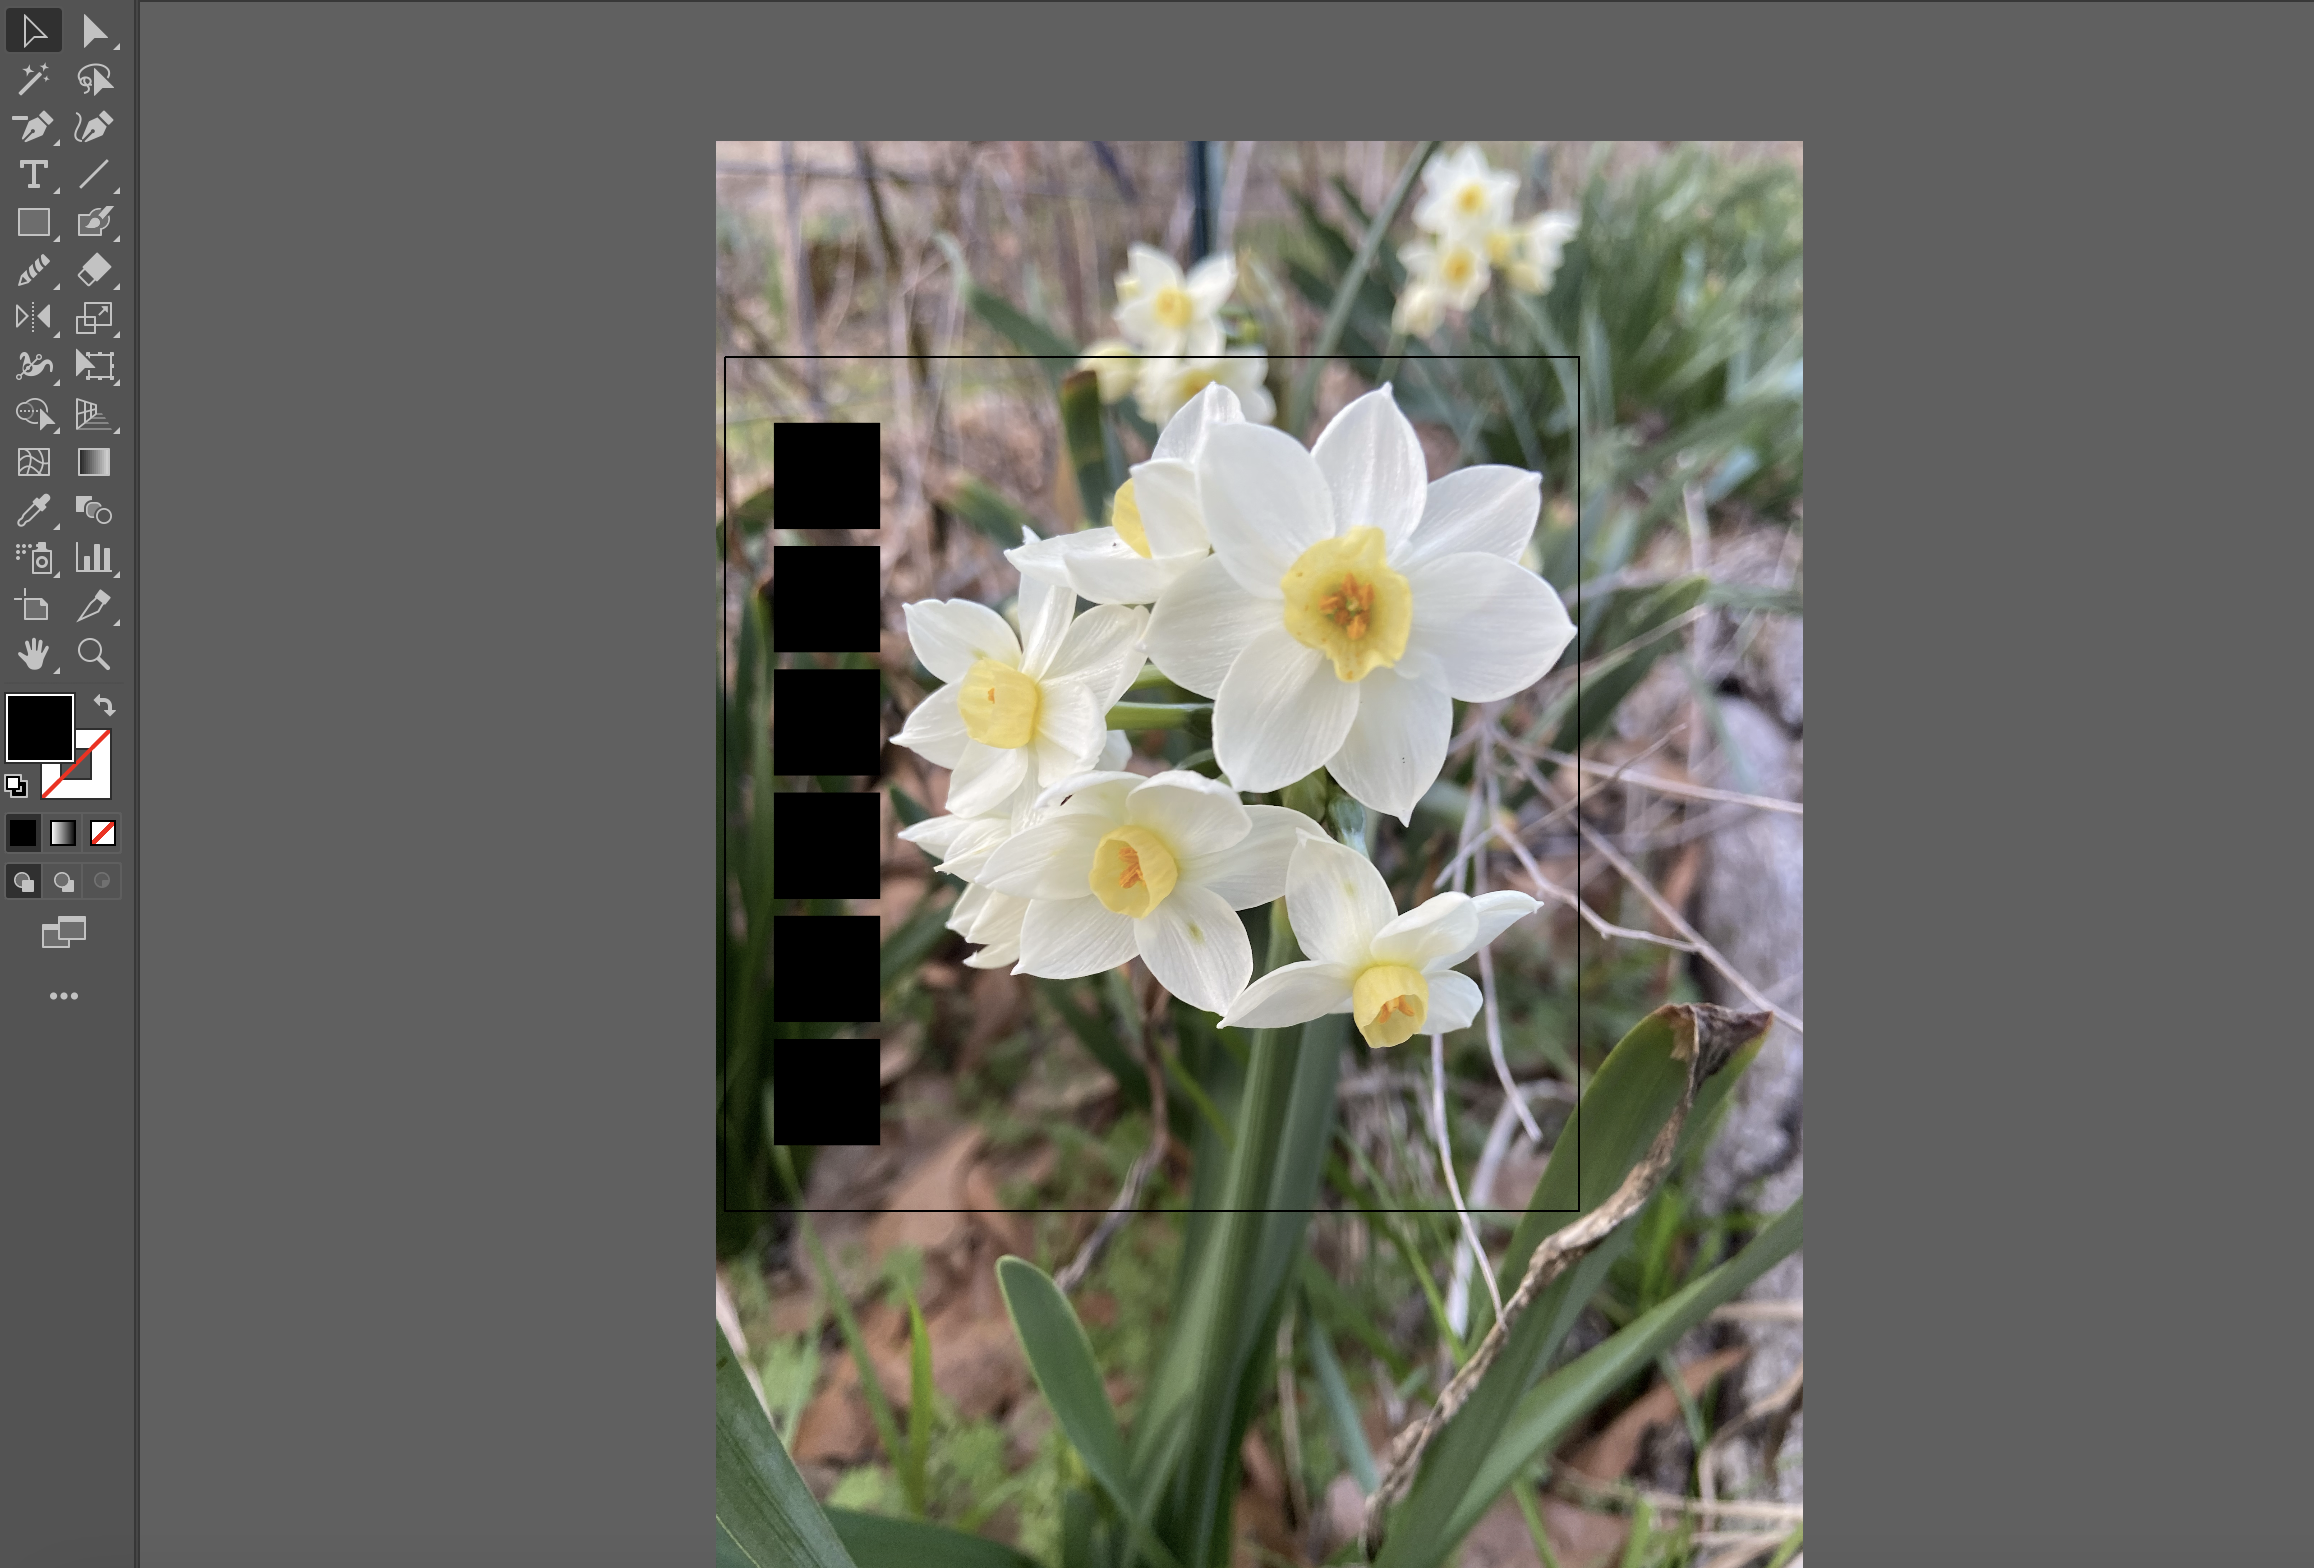
Step 1. Open Adobe Illustrator. I normally just make a square canvas that can be used for social and web, about 1500 pixels wide.
Step 2. Go to your left panel and click the Rectangle tool, or click “M” on your keyboard. I make a small square that will be for color swatches.

Step 3. Place your photo on your Artboard. You can drag and drop it in Adobe Illustrator. Or you can click File > Open and search for your photo on your computer to have Adobe Illustrator open it for you in a new file. I make copies of the squares I made it Step 2 and put them right on top of my photo. If you select your square and hold down Shift + Option on a Mac, you can make a copy. I do this and then press Command + D to replicate what I just copied. I love learning the shortcuts that speed up the design process! I decided to pull 6 colors from this photo so I made 6 squares.
Step 4. Next, grab the Eyedropper tool on your left panel or click “I” on your keyboard. In the video below, I show how I use the Eyedropper tool to select colors from my photo. I select the swatch then click “I” where I want to grab a color from the photo. I try to get different colors to have a well-rounded palette, e.g. flower petals, stamens, and stems.

In the following video, I demonstrate how I use the Eyedropper tool to grab colors from the flowers in the photo. This is the same process I discussed in Step 4.
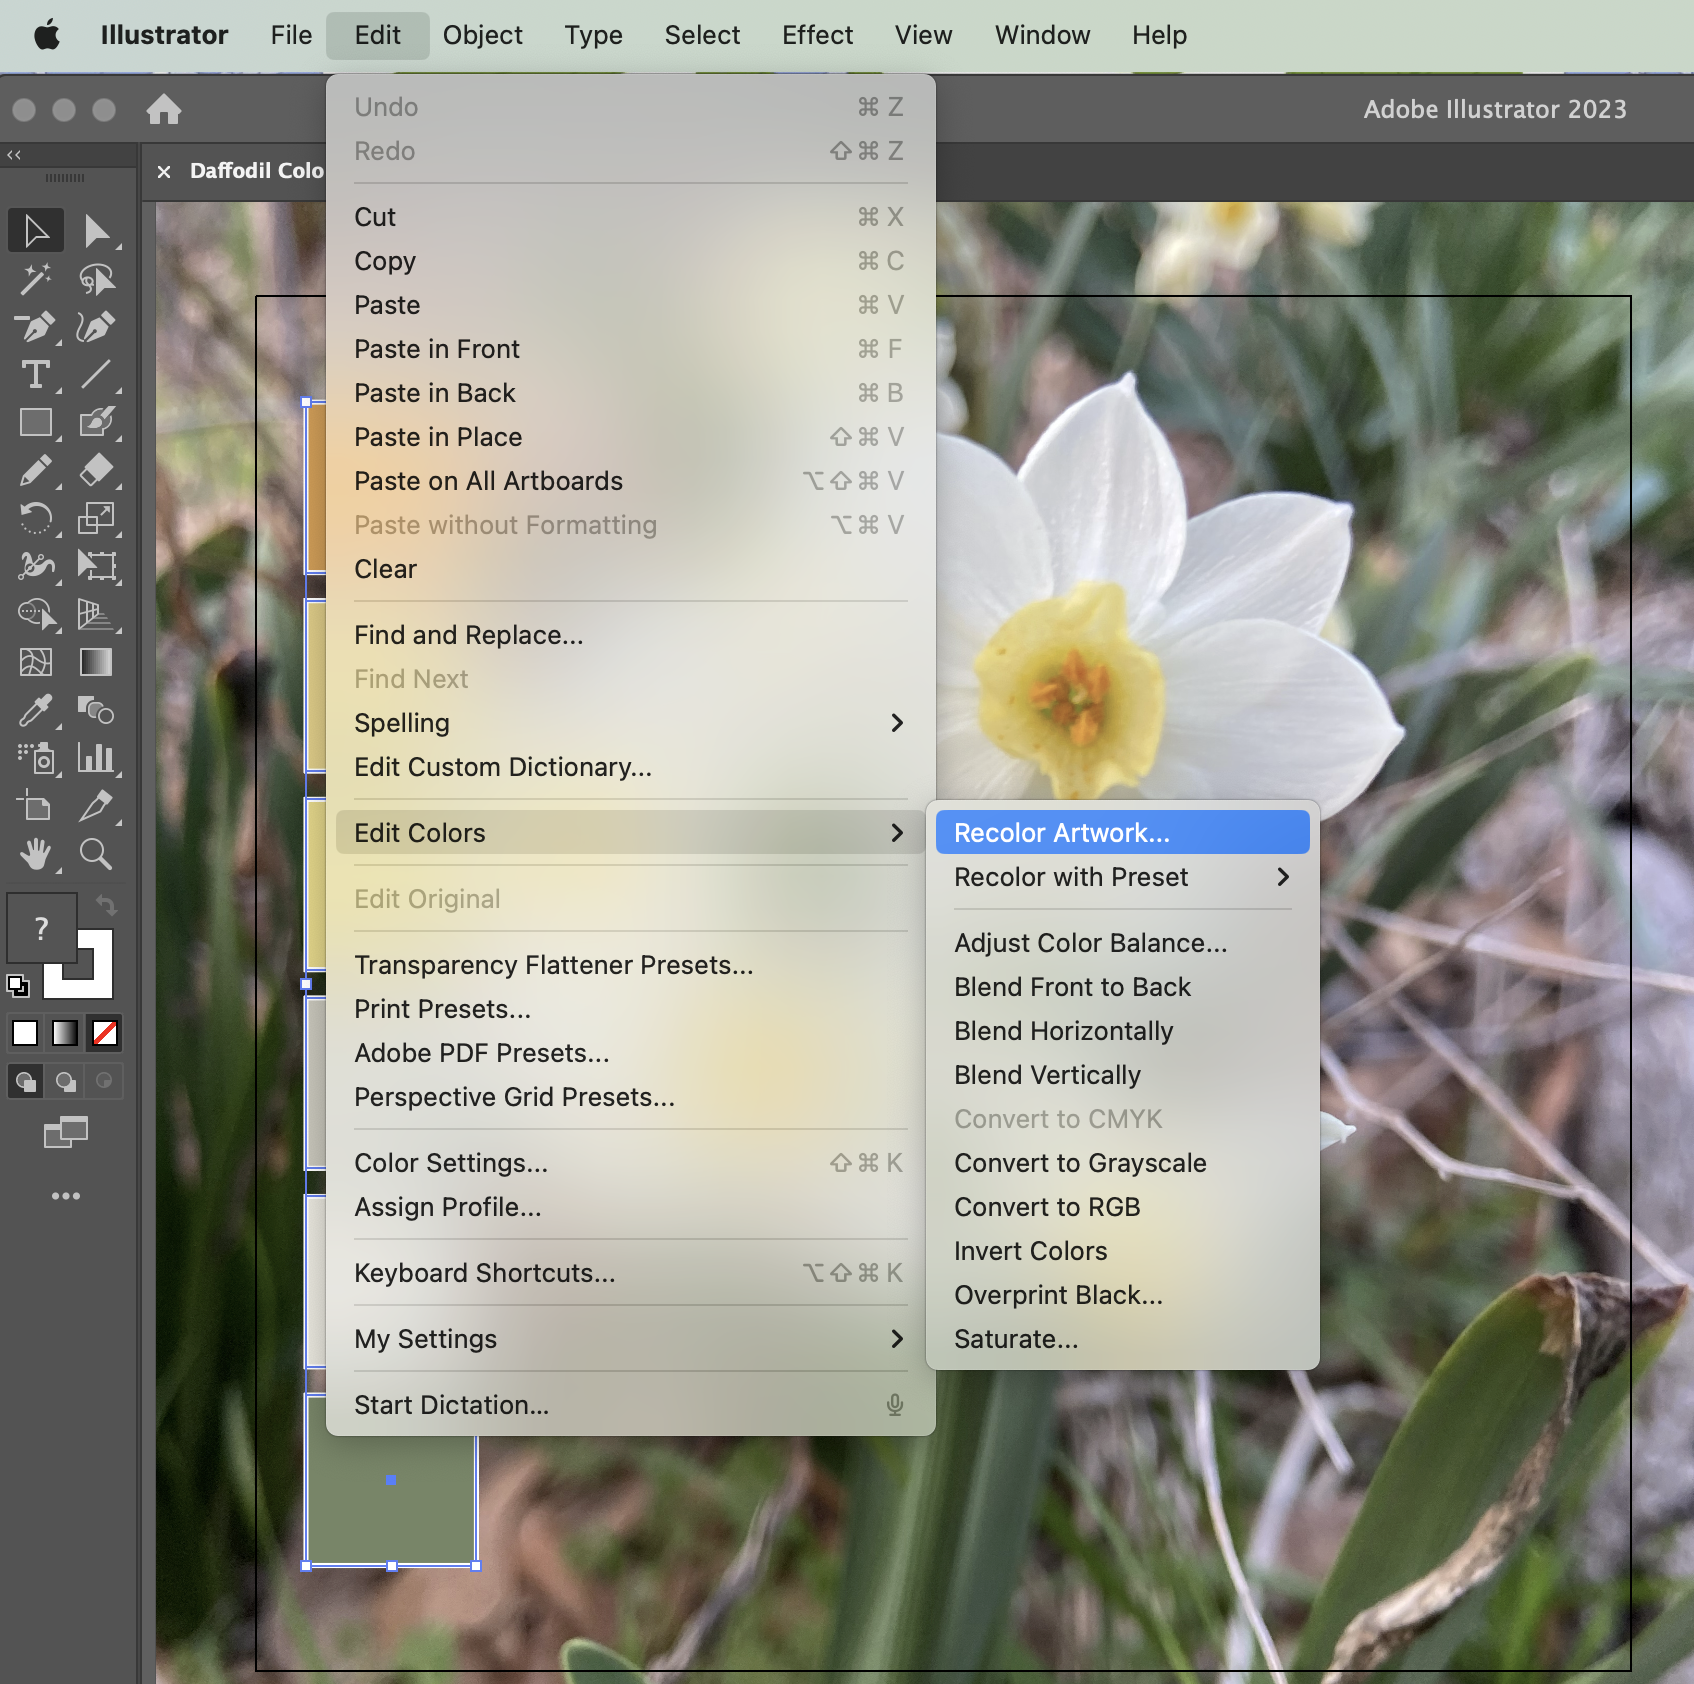
Step 5. Click Edit > Edit Colors > Recolor Artwork to bring up the dialog box that allows you to adjust the colors.
This dialog box will open. Click Advanced Options in the lower right corner.
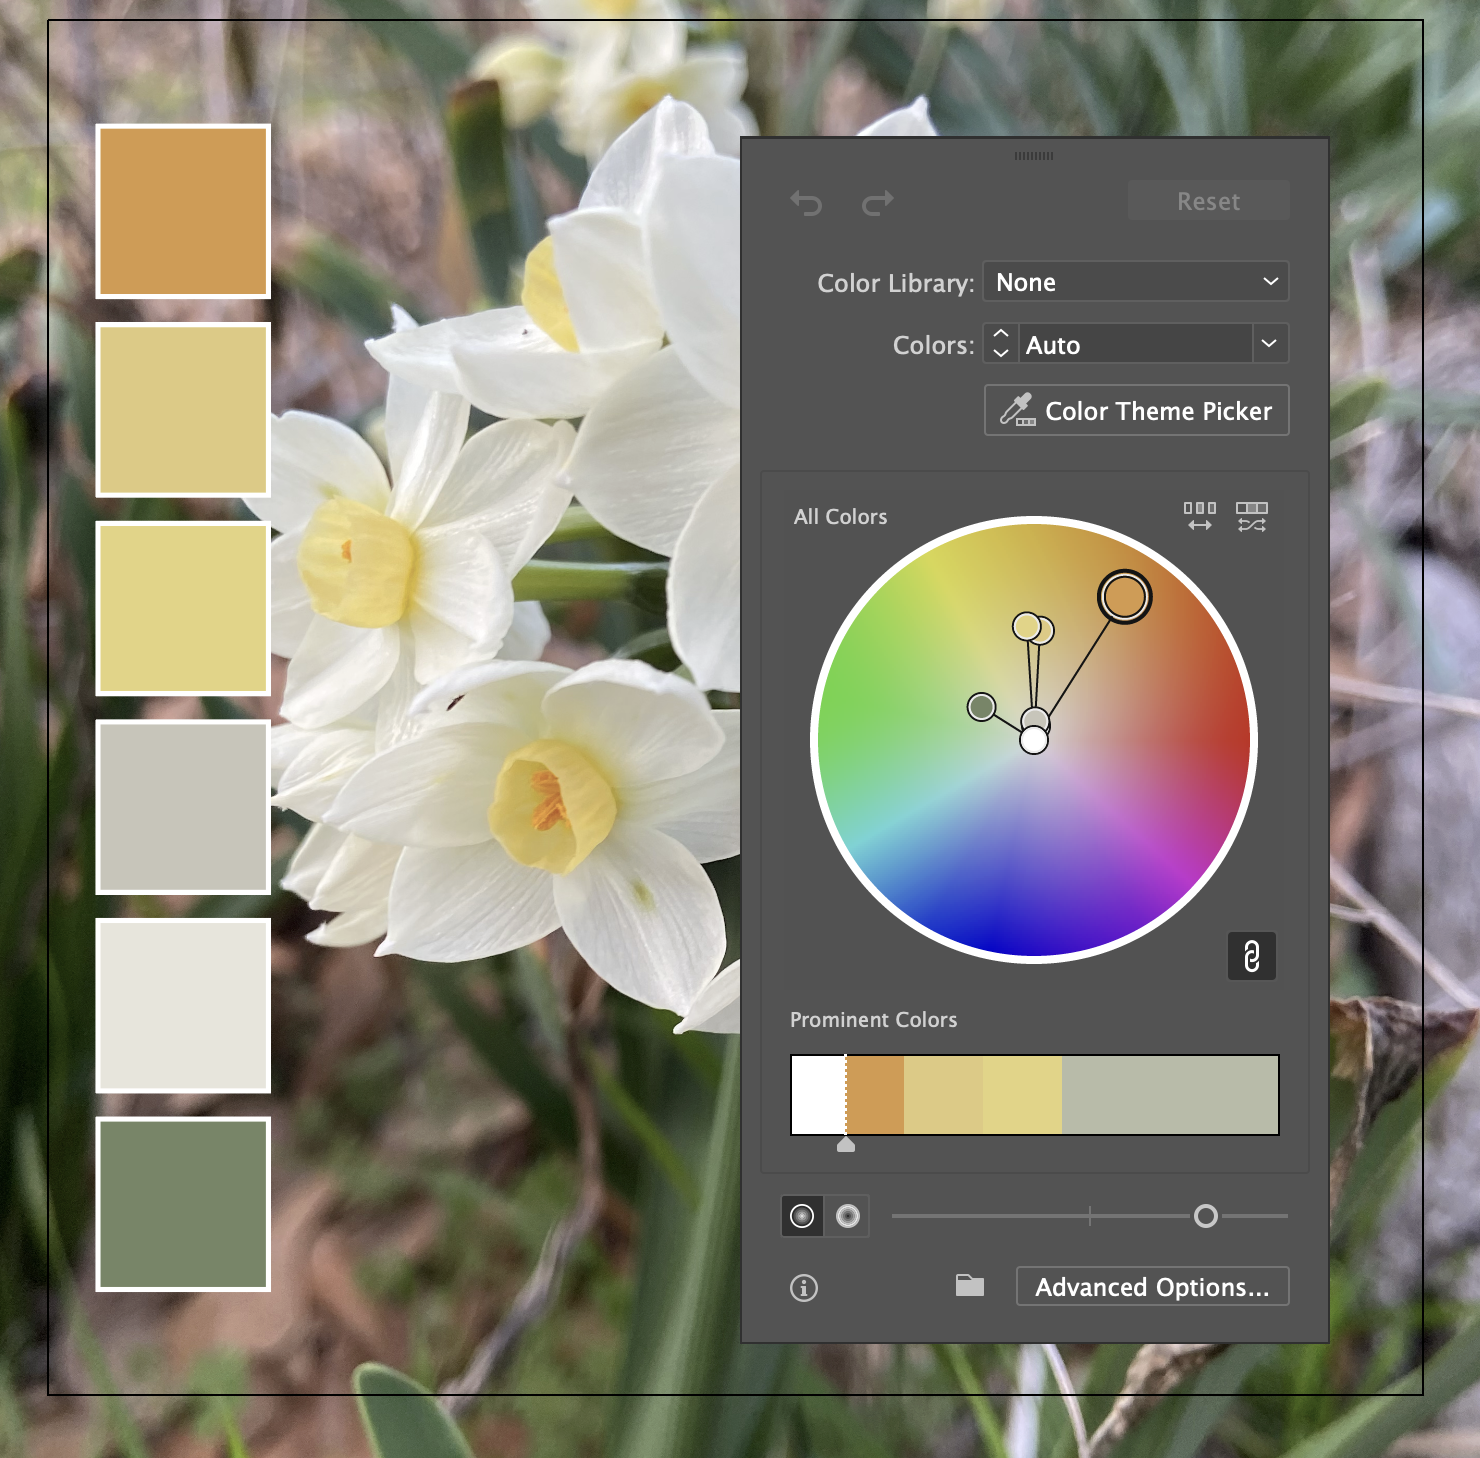
This is where you can start editing your colors with hue and saturation.
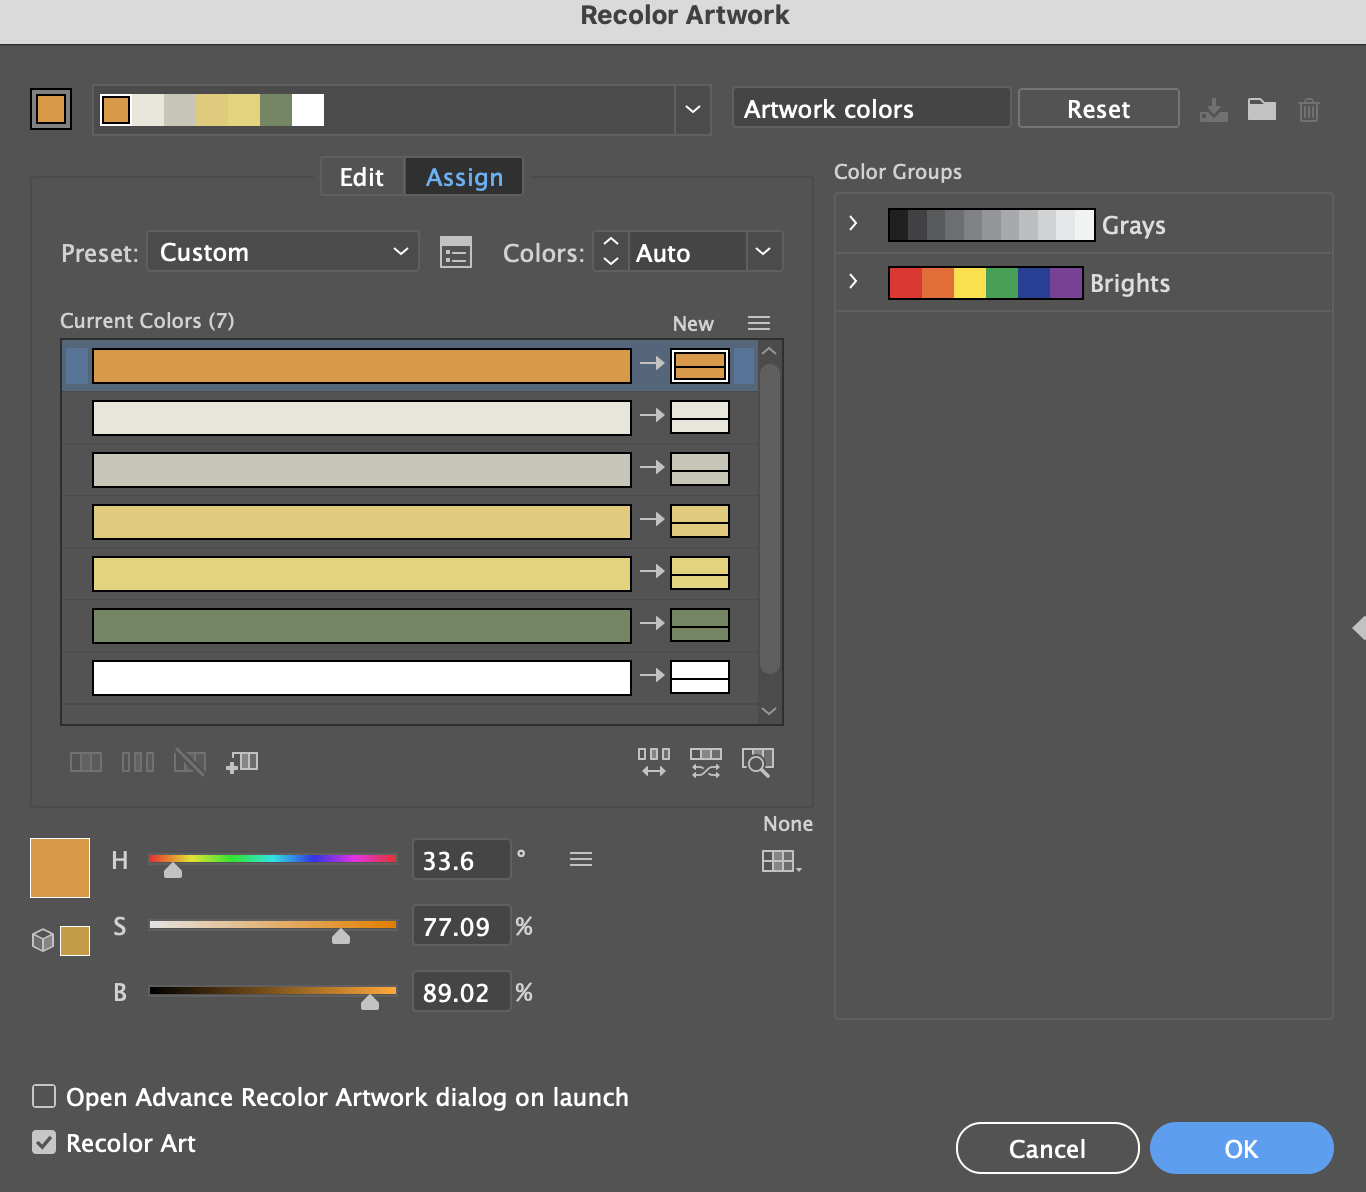
In the next video, I demonstrate how I edit my colors with the Recolor Artwork tool in Adobe Illustrator. This is the same process I discussed in Step 5.
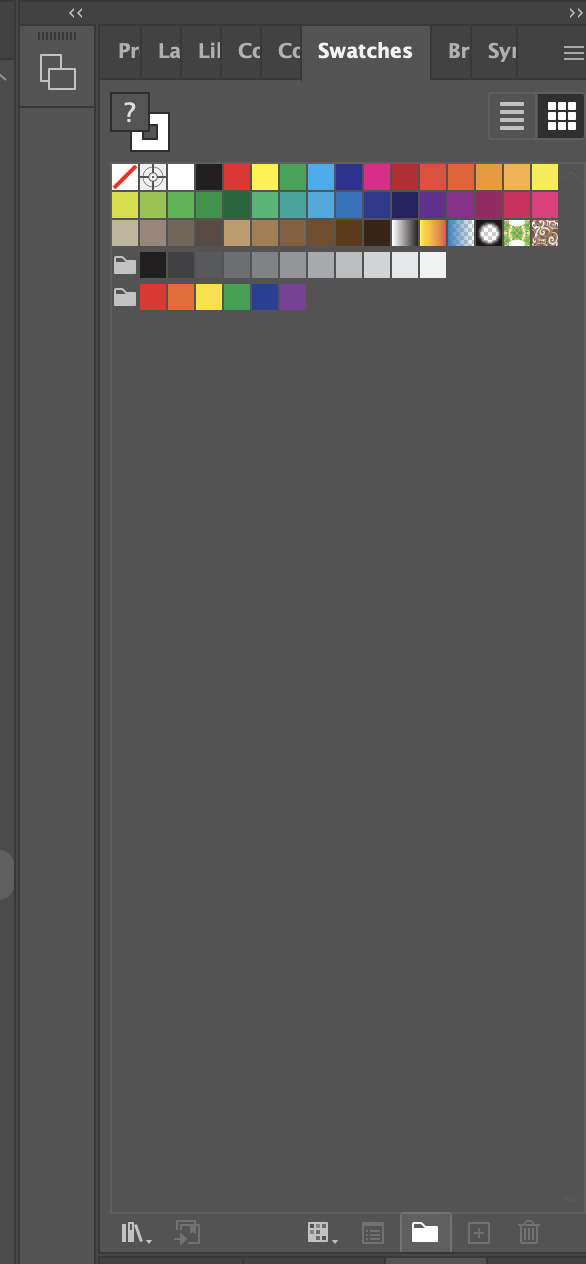
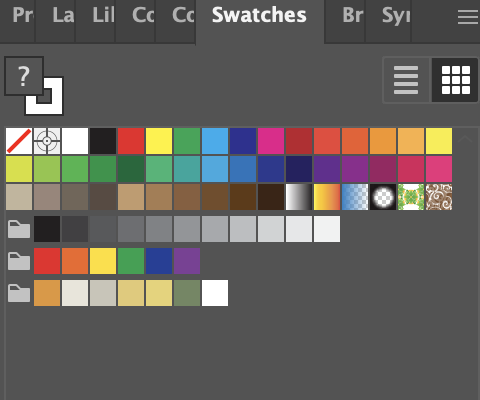
Step 6. Now that you have your edited color palette, you are ready to add it to your Swatches library in Adobe Illustrator. Select the color palette swatches you made on your Artboard. Open your Swatches panel on the right side and click the folder at the bottom.
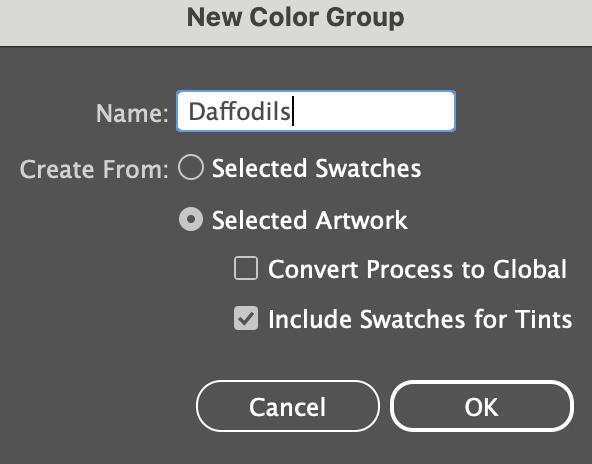
The New Color Group dialog box will open. You can rename your color palette. I called mine “Daffodils.”
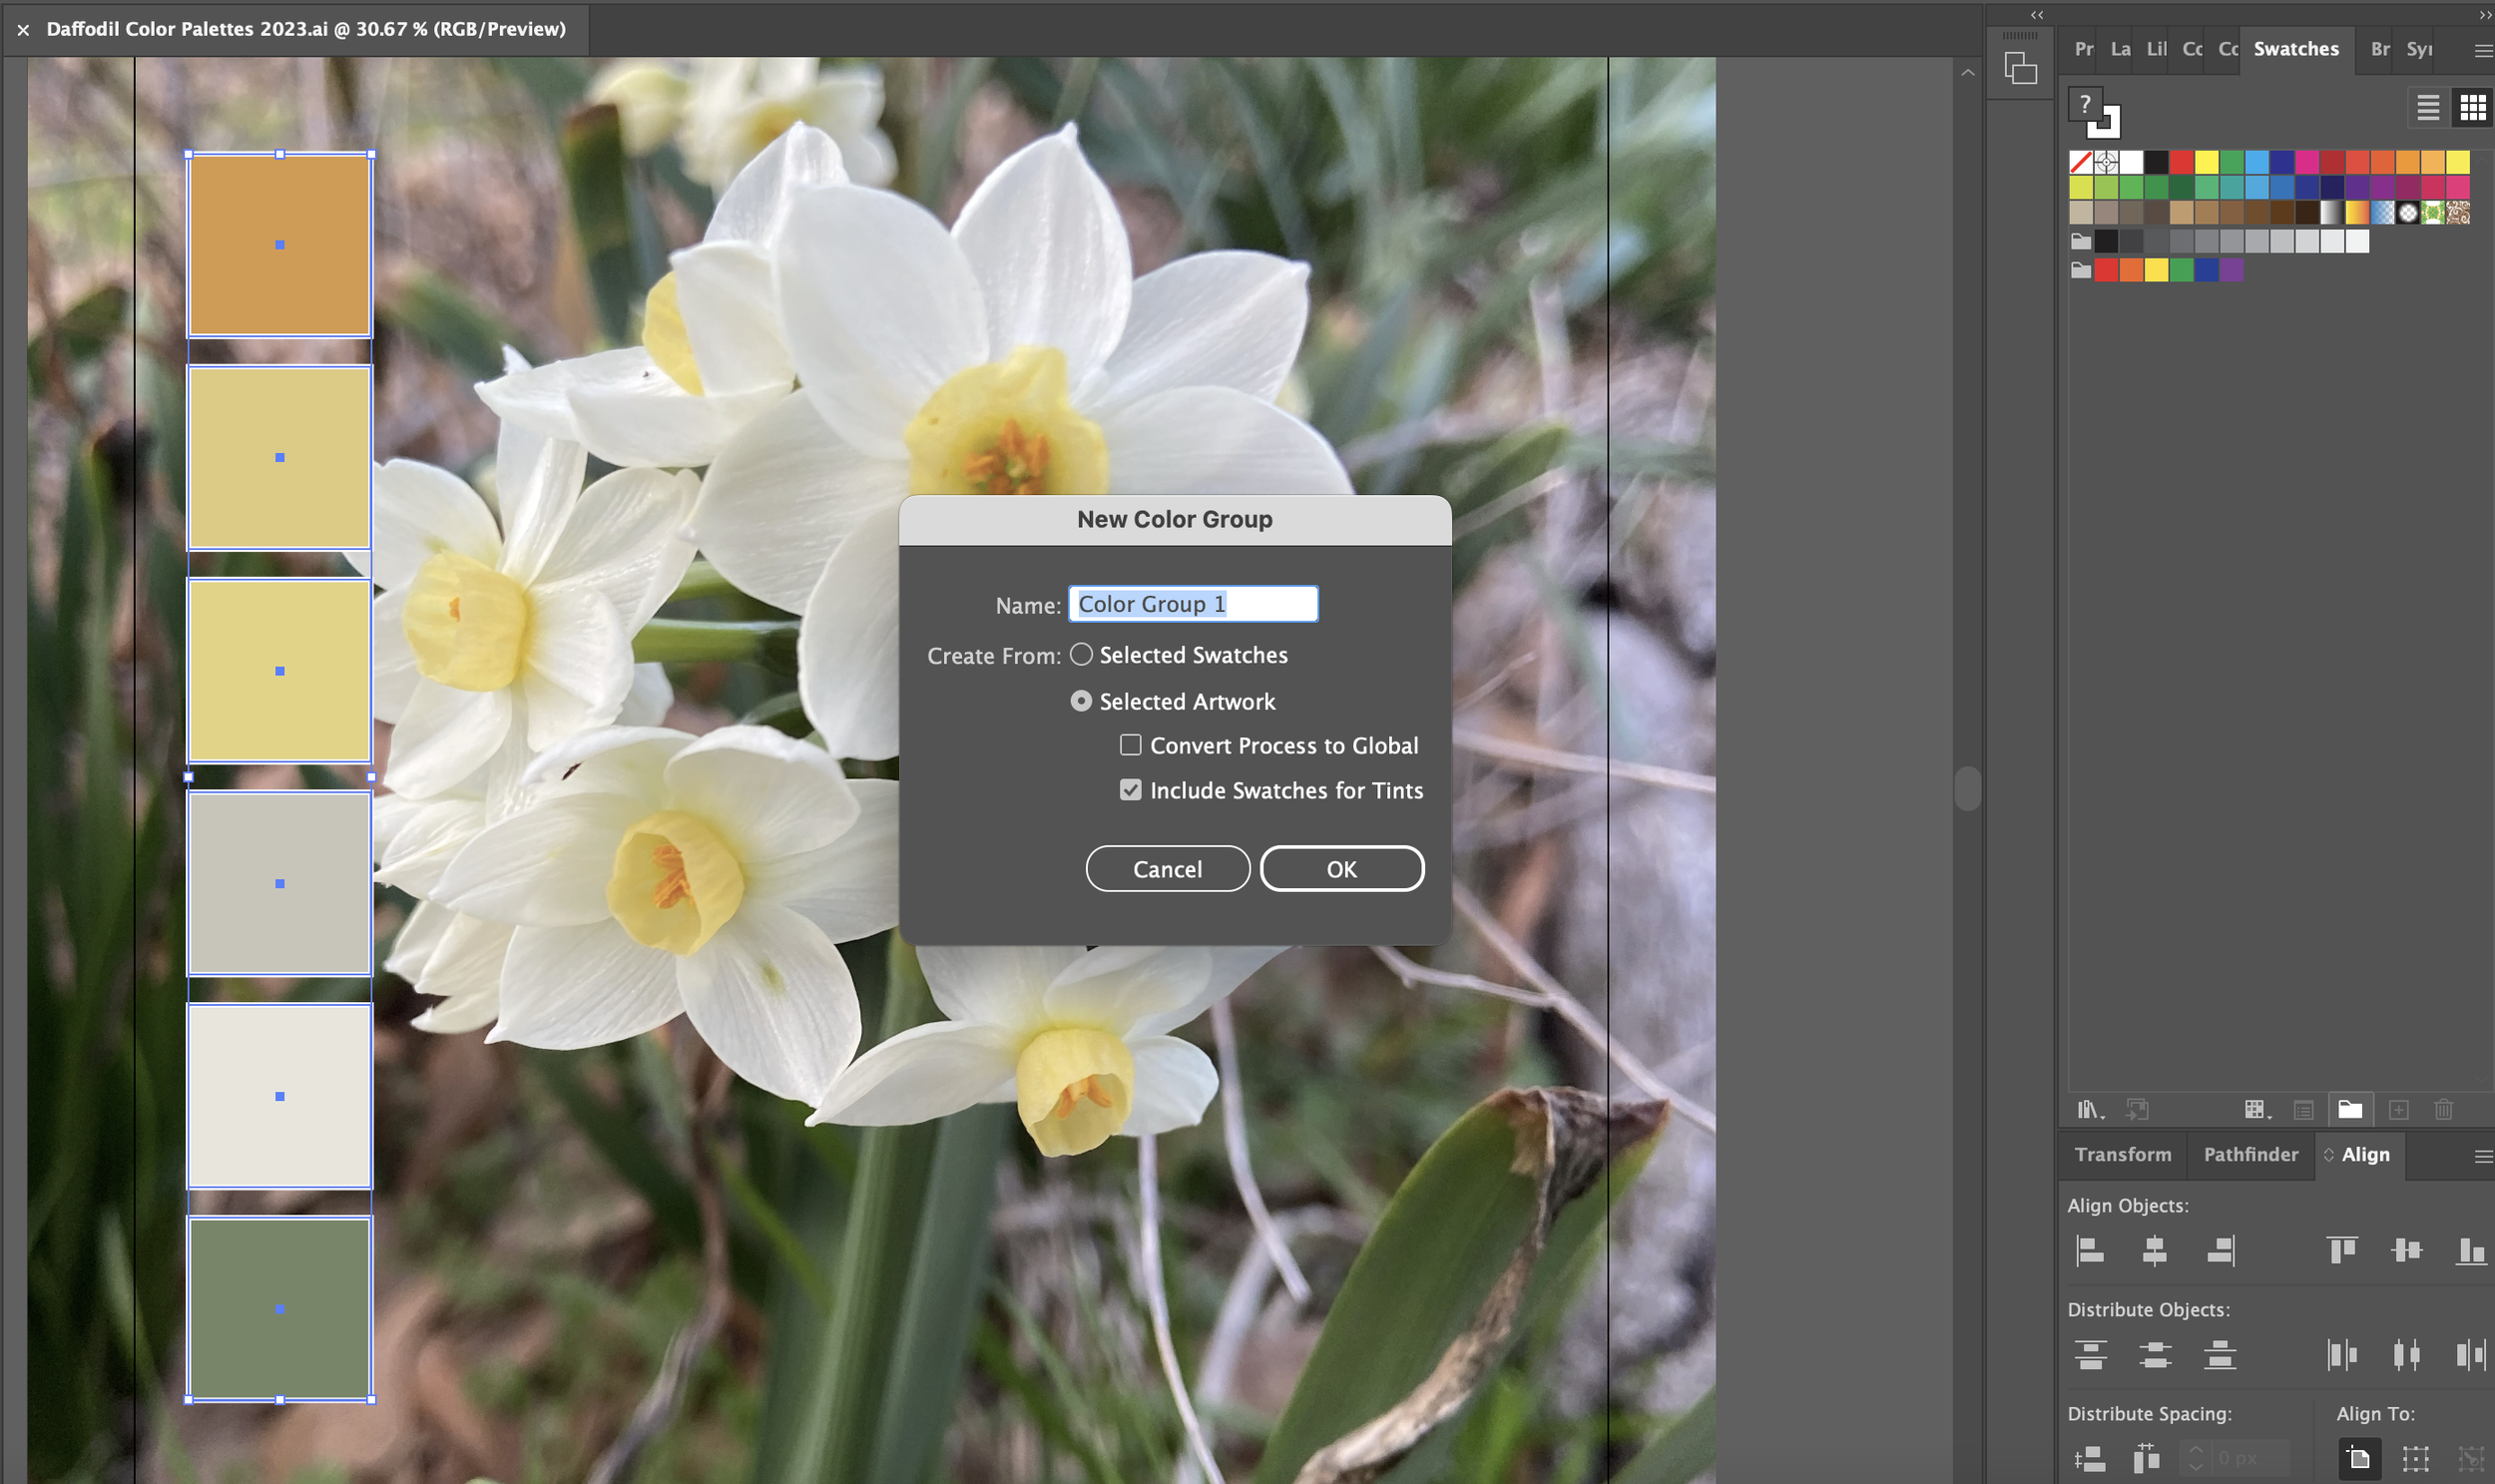
You can rename your color palette. I called mine “Daffodils.”
Your color palette will appear in the Swatches panel!
In the next video, I demonstrate how I upload my color palette in the Swatches panel in Adobe Illustrator. This is the same process I discussed in Step 6.
Creating your own custom color palettes is a fun and exciting way to add new life into your designs. It can help you hone your style too when you decide on the types of colors you want to incorporate into your work, e.g. pastels, bright colors, or natural earth-toned colors.


